Project Overview
This project focuses on designing a pulse oximeter using CAD software and 3D printing technologies to create a device that measures blood oxygen saturation.
Engineering Approach
Industry standard pulse oximeter technology is inaccurate for populations with darker skin tones. This project focuses on designing and manufacturing a pulse oximeter that measures light absorption and scattering using the dual ratio method. This method accounts for the absorption and scattering effects of melanin, leading to more accurate readings across diverse skin tones.
Design Iteration
The design process involved several stages:
-
Research and problem definition
At the Diffuse Optics Imaging of Tissue (DOIT) Lab at Tufts University, I conducted research on pulse oximetry technology and identified the limitations of existing devices for individuals with darker skin tones. I then began designing the CAD Model on Solidworks.
-
CAD modeling and prototyping
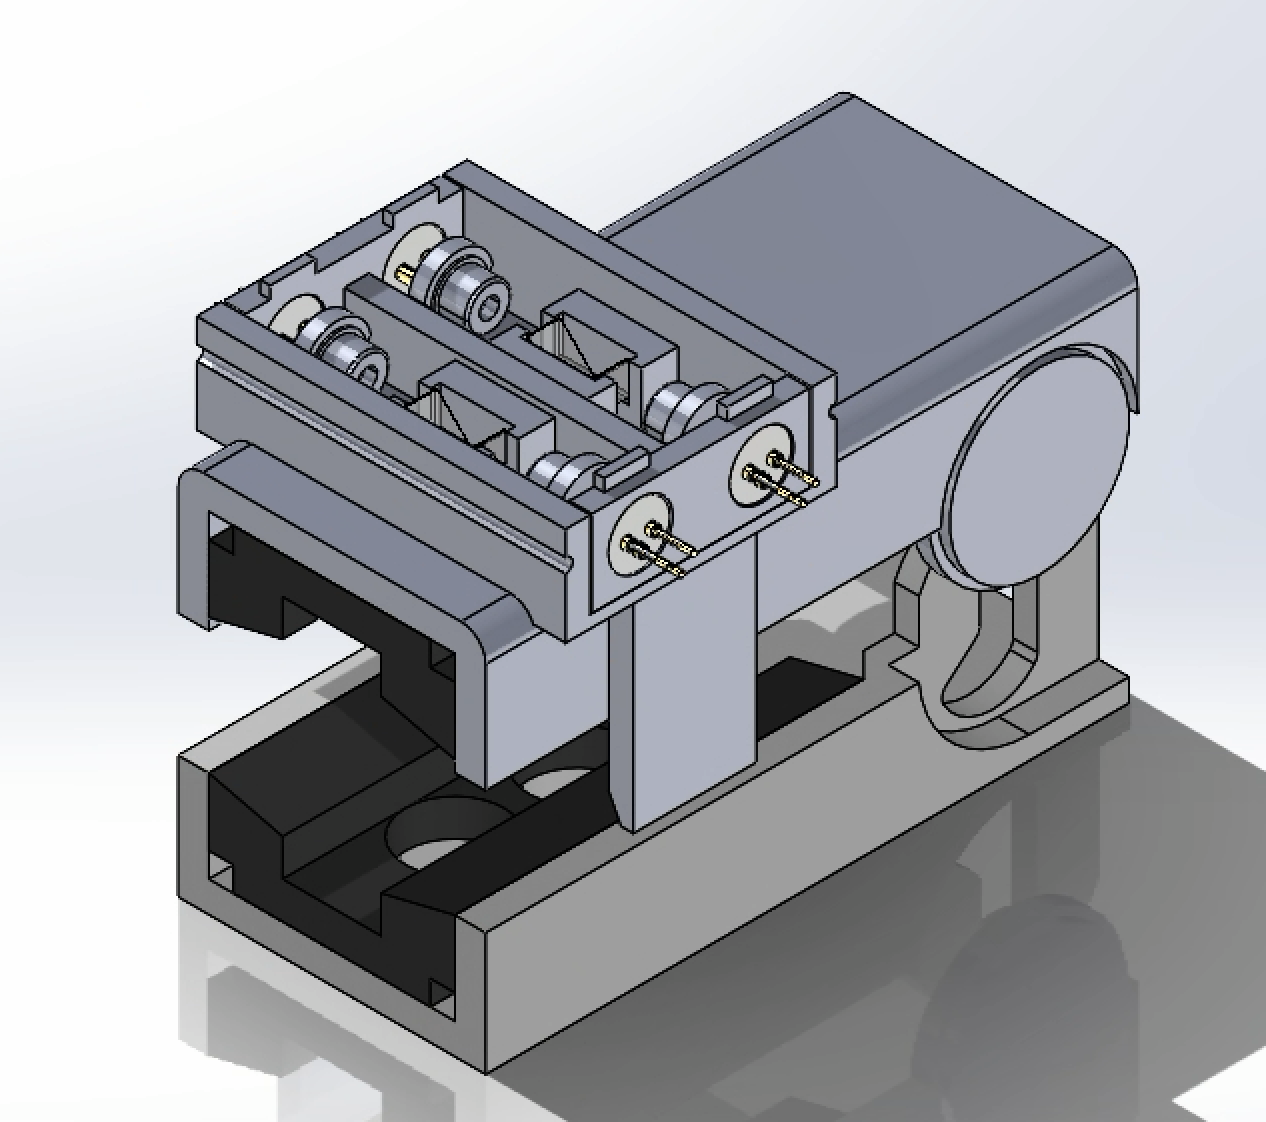
My first step was to recreate the joint type of industry standard pulse oximeters, which use a hinge mechanism and a vertical translation. This design allows the clip to provide a secure fit on a wide range of finger sizes. I emulated my joint geometry on the design of a pulse oximeter manufactured by Sino-K.
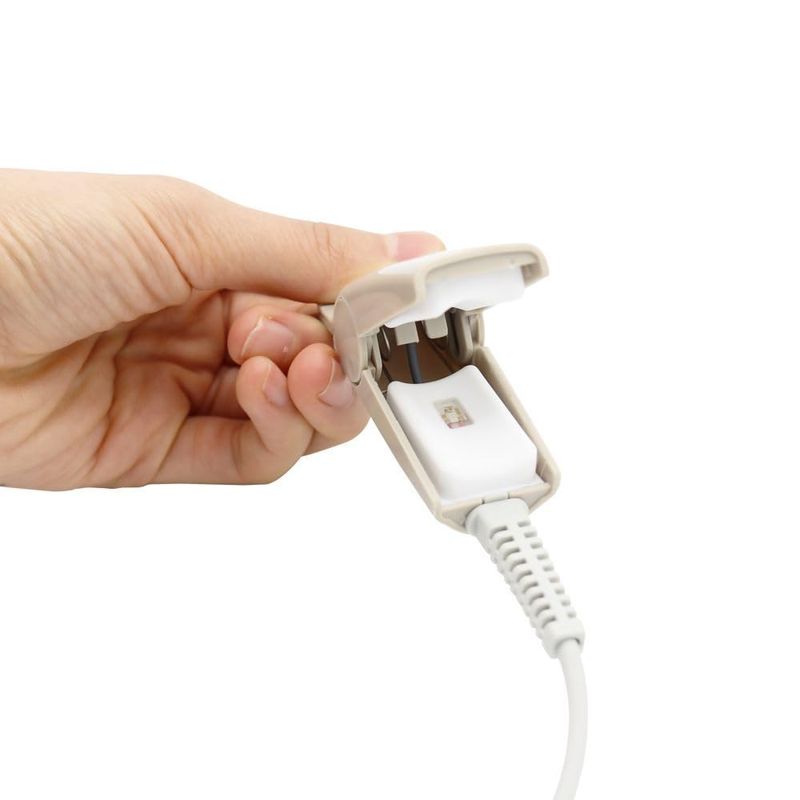
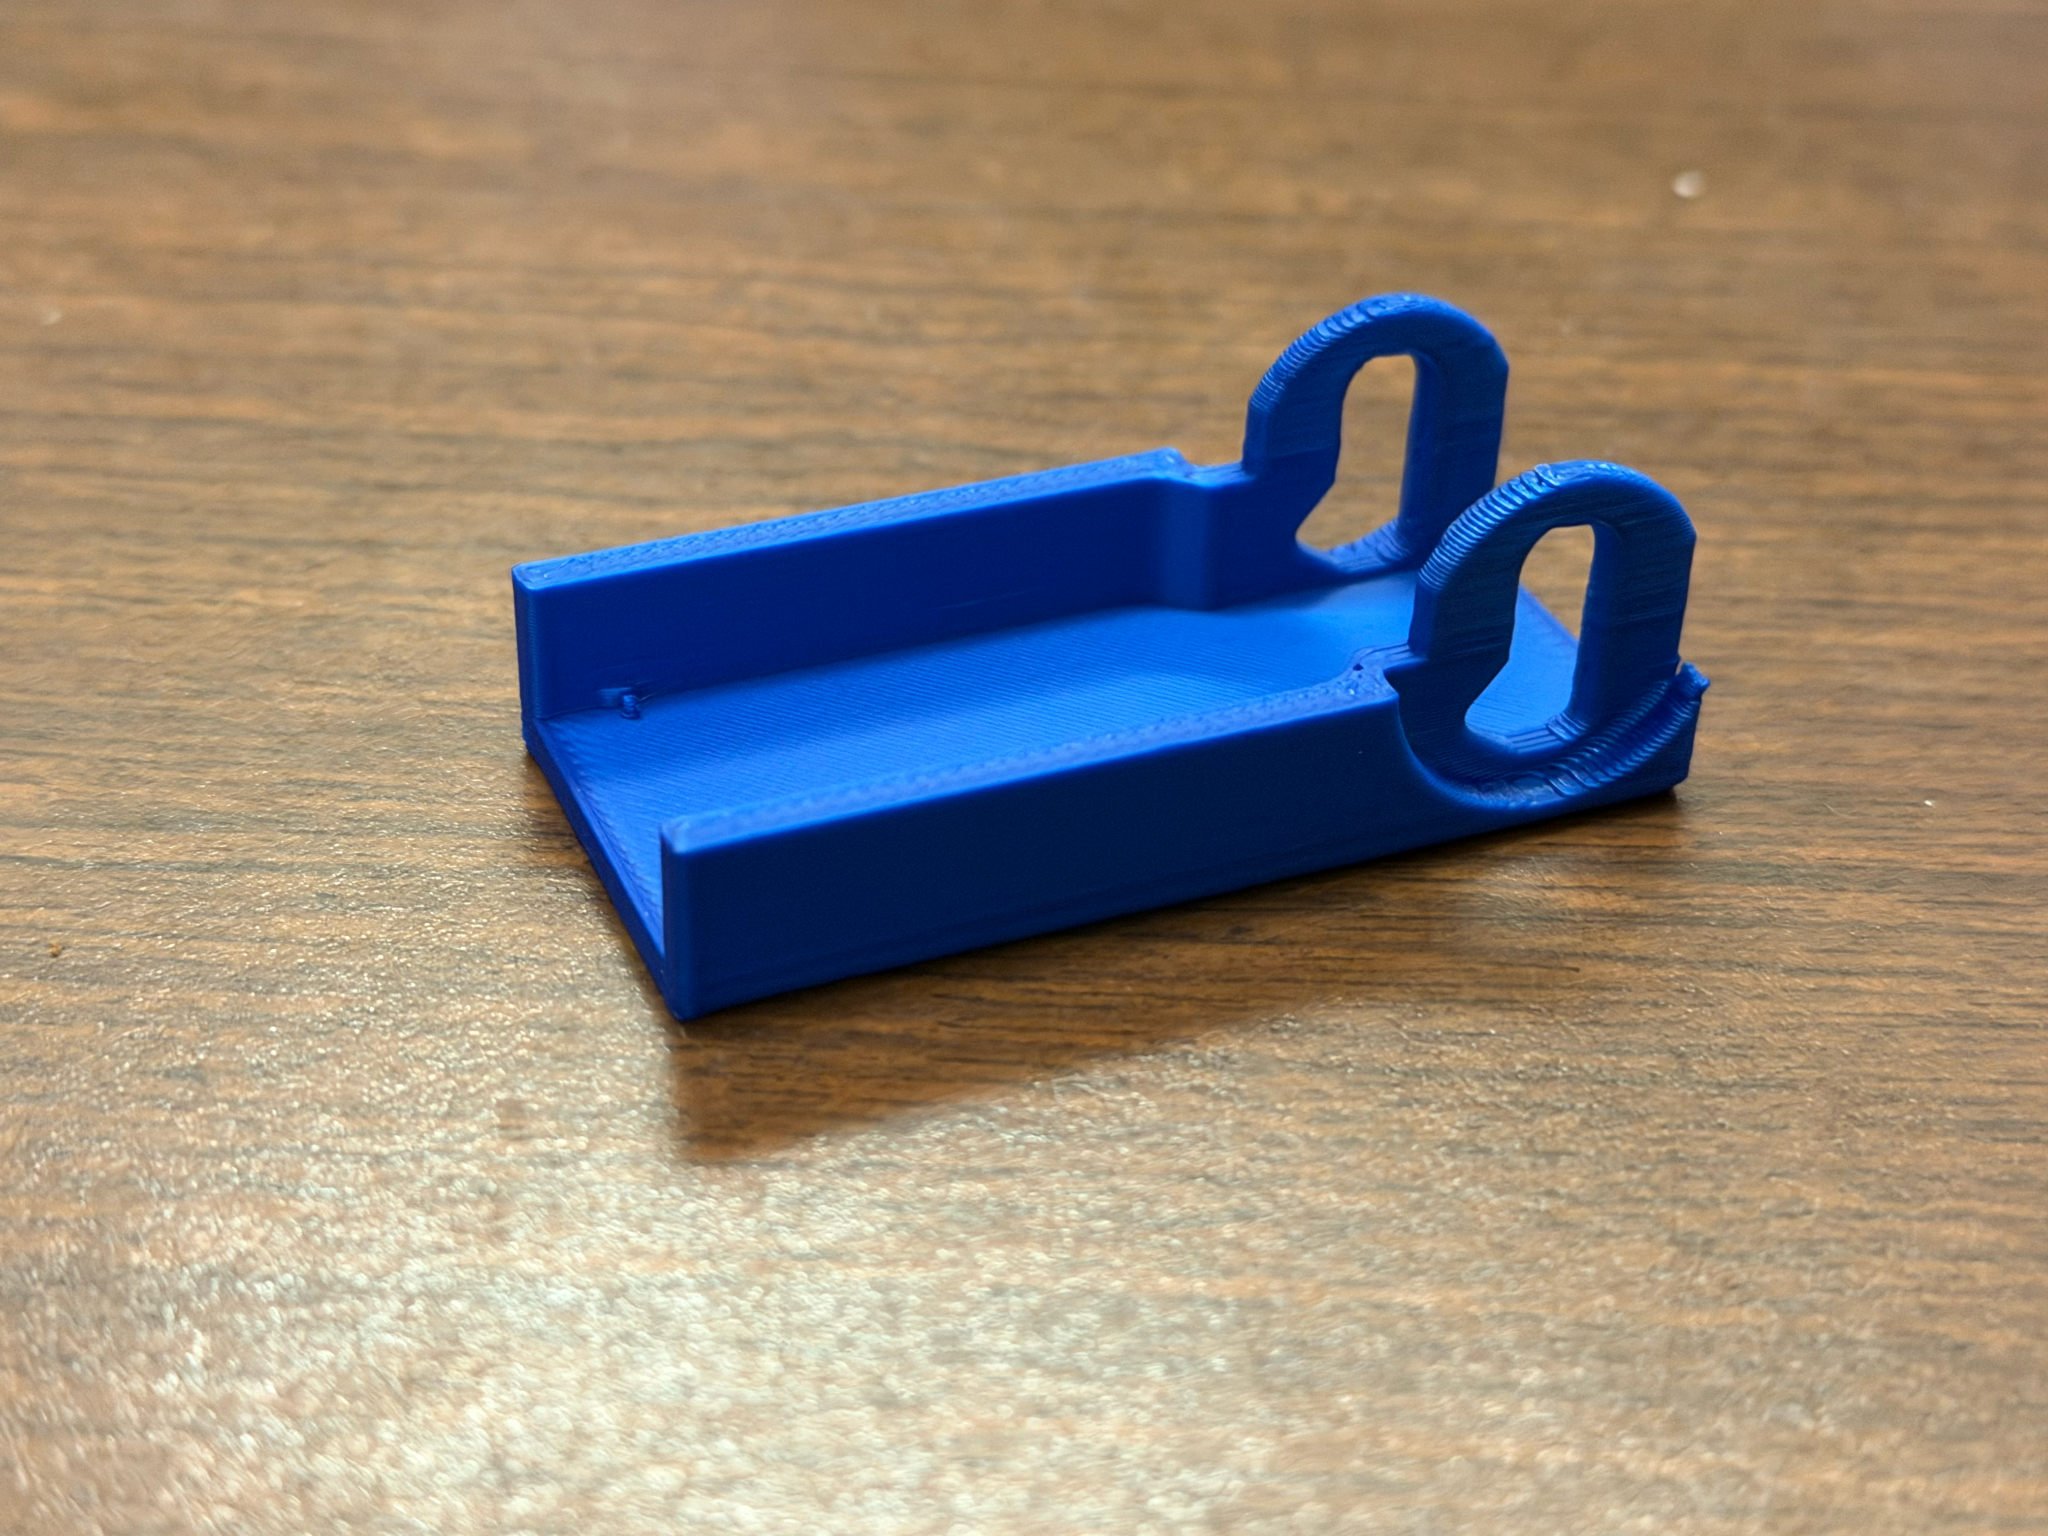
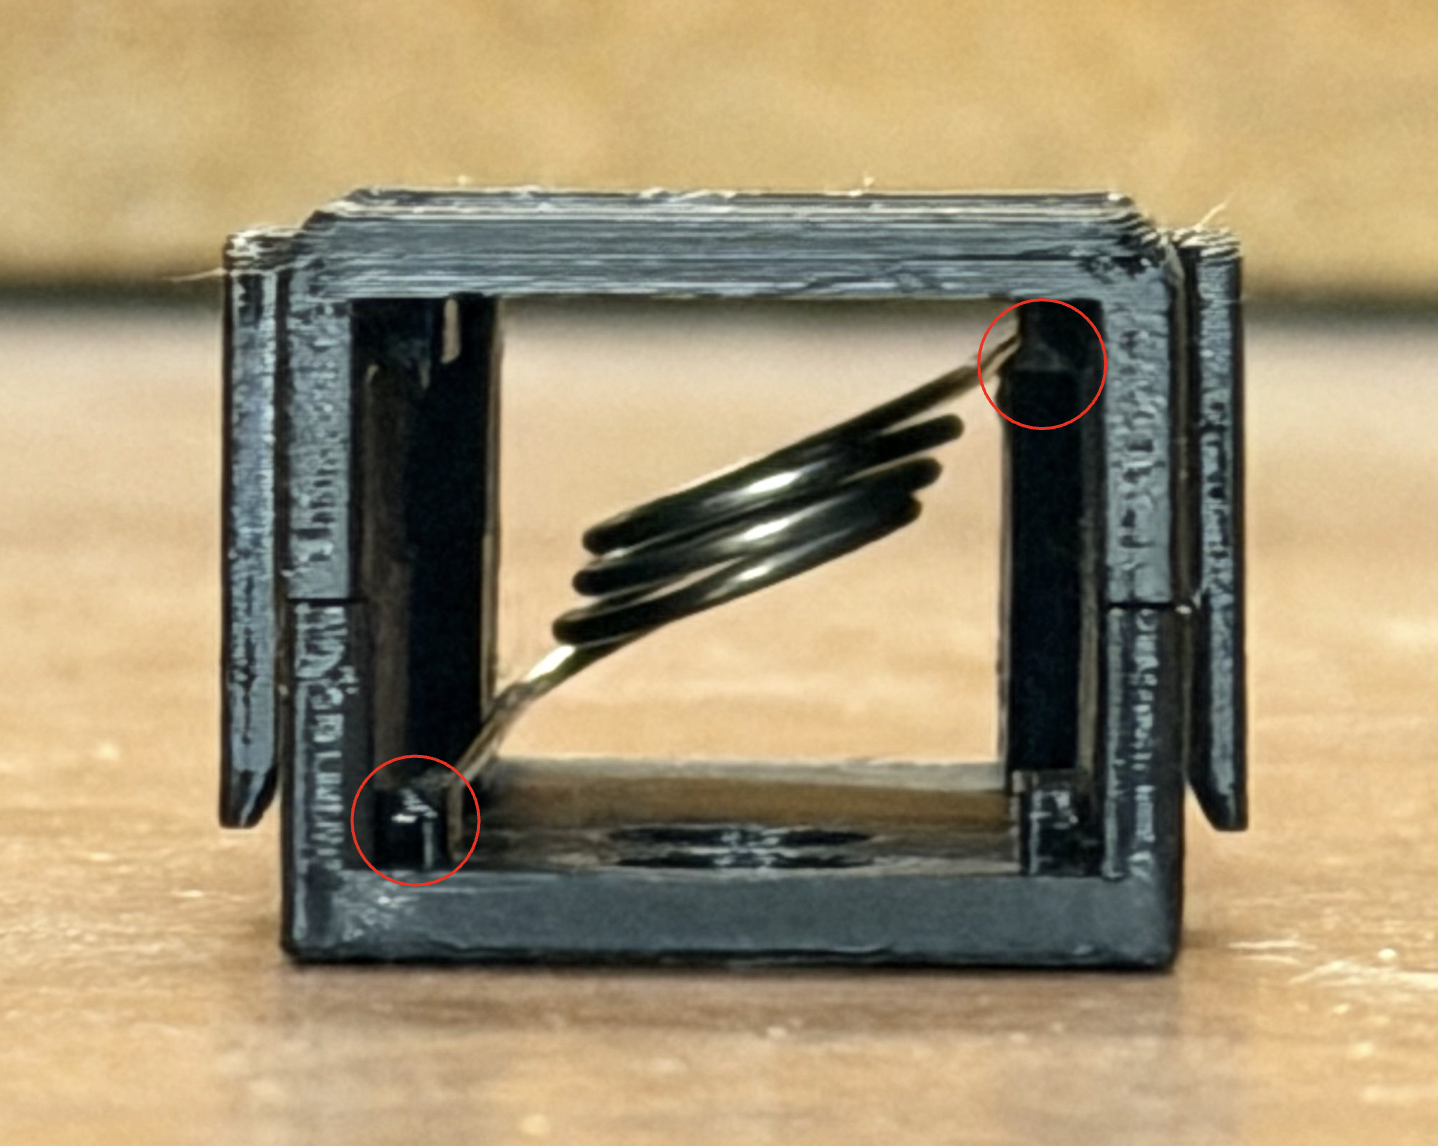
After designing the joint, I implemented the restoring force using a torsion spring. However, the torsion springs on McMaster-Carr exerted too much force. To address this issue, I implemented a single spring, with the ends threaded through opposite channels in the pulse ox chassis. The actual restoring force in this setup is the axial force the torsion spring exerts to stay coiled.
-
Laser Diode Enclosure
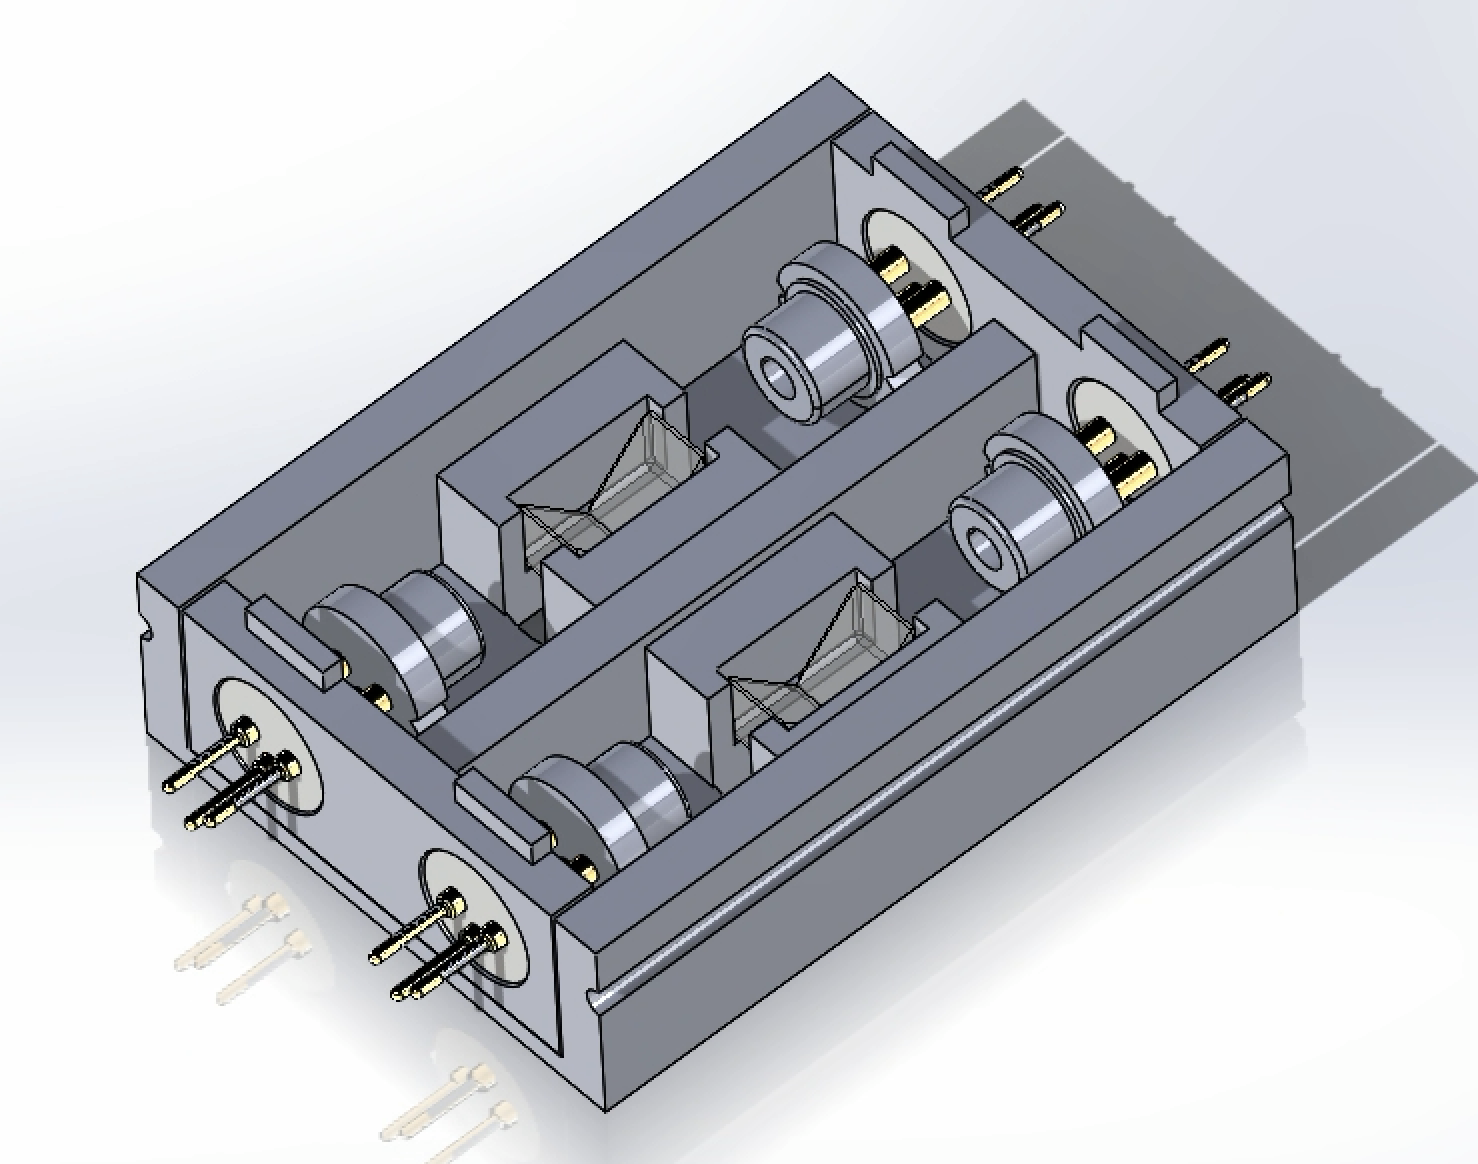
The dual ratio measurement method requires two light sources and two detectors. In this pulse oximeter design, there are four total lasers. Two laser diodes emit light into the same location, one at 660nm and the other at 940nm. This exact setup is repeated 10mm away.
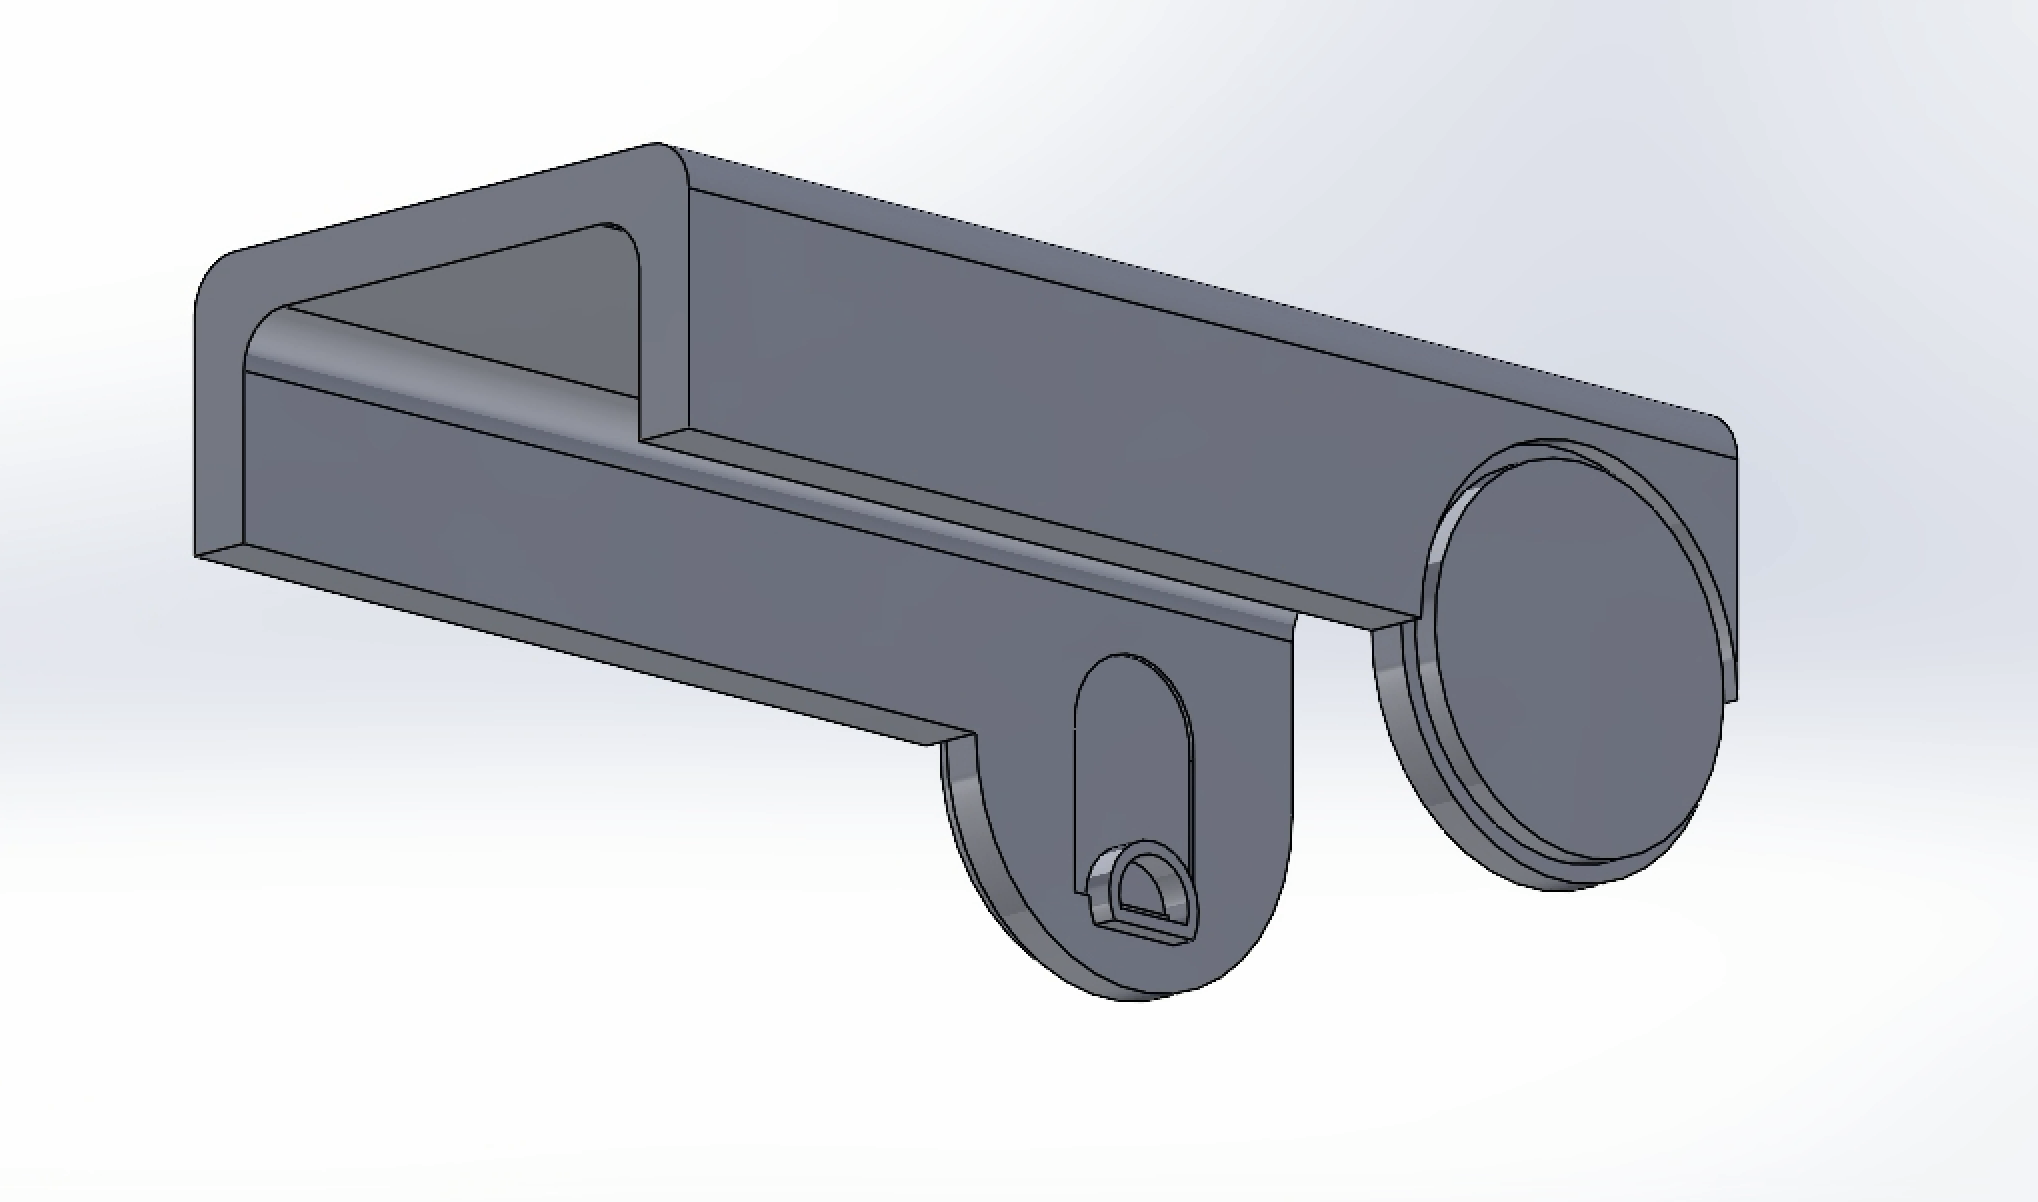
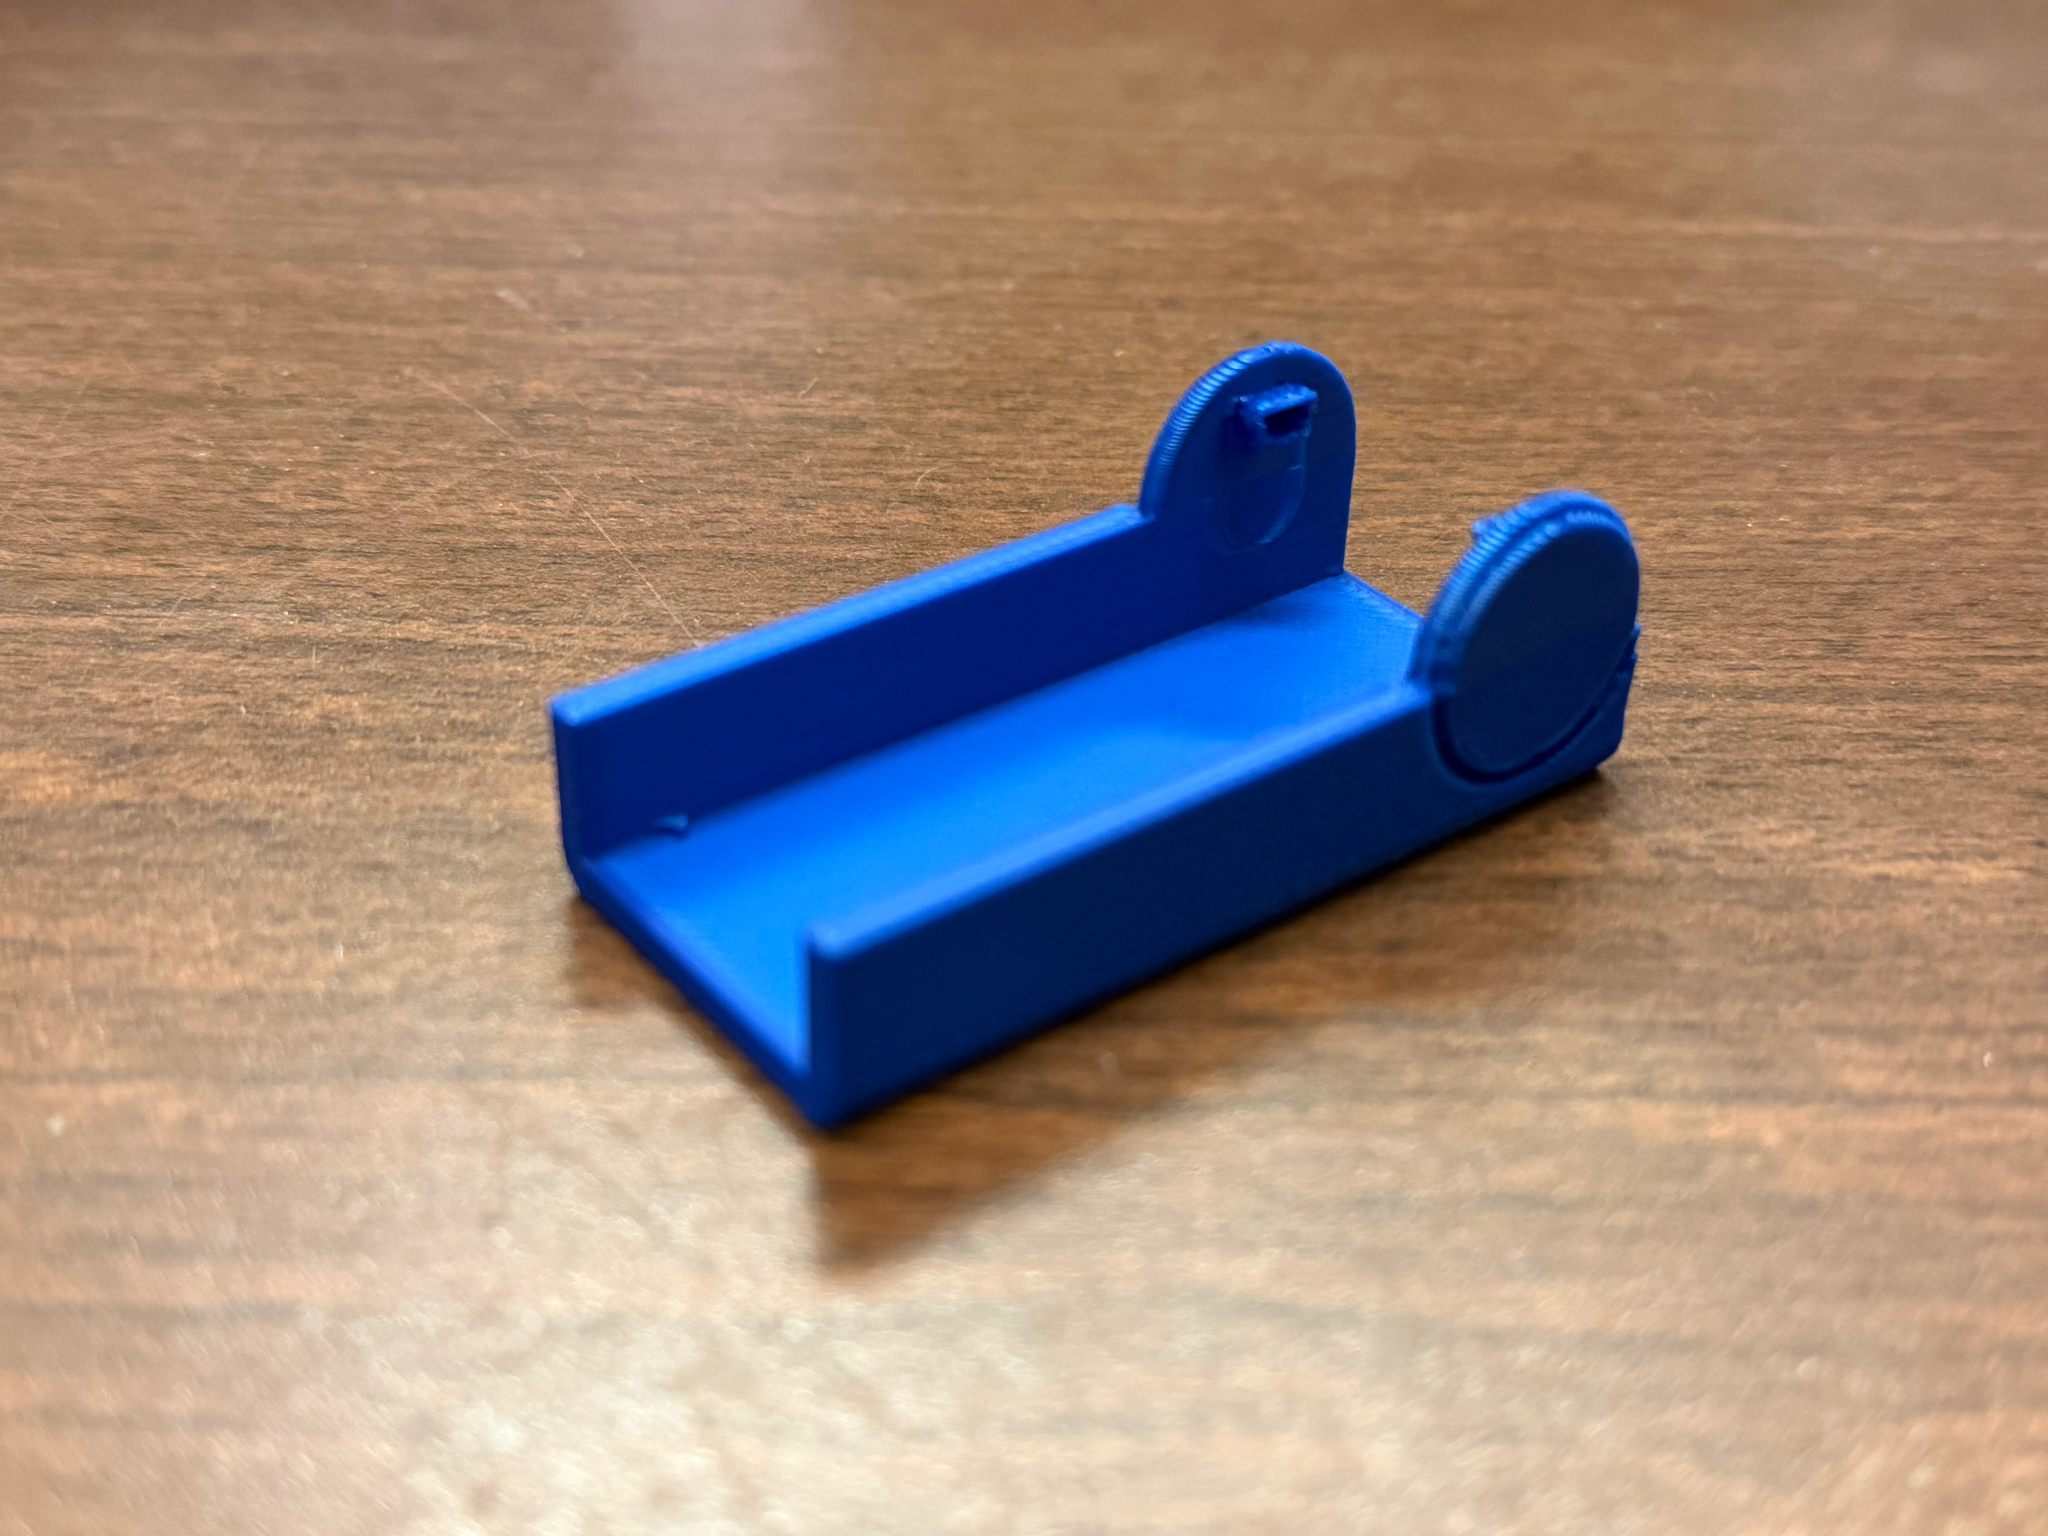
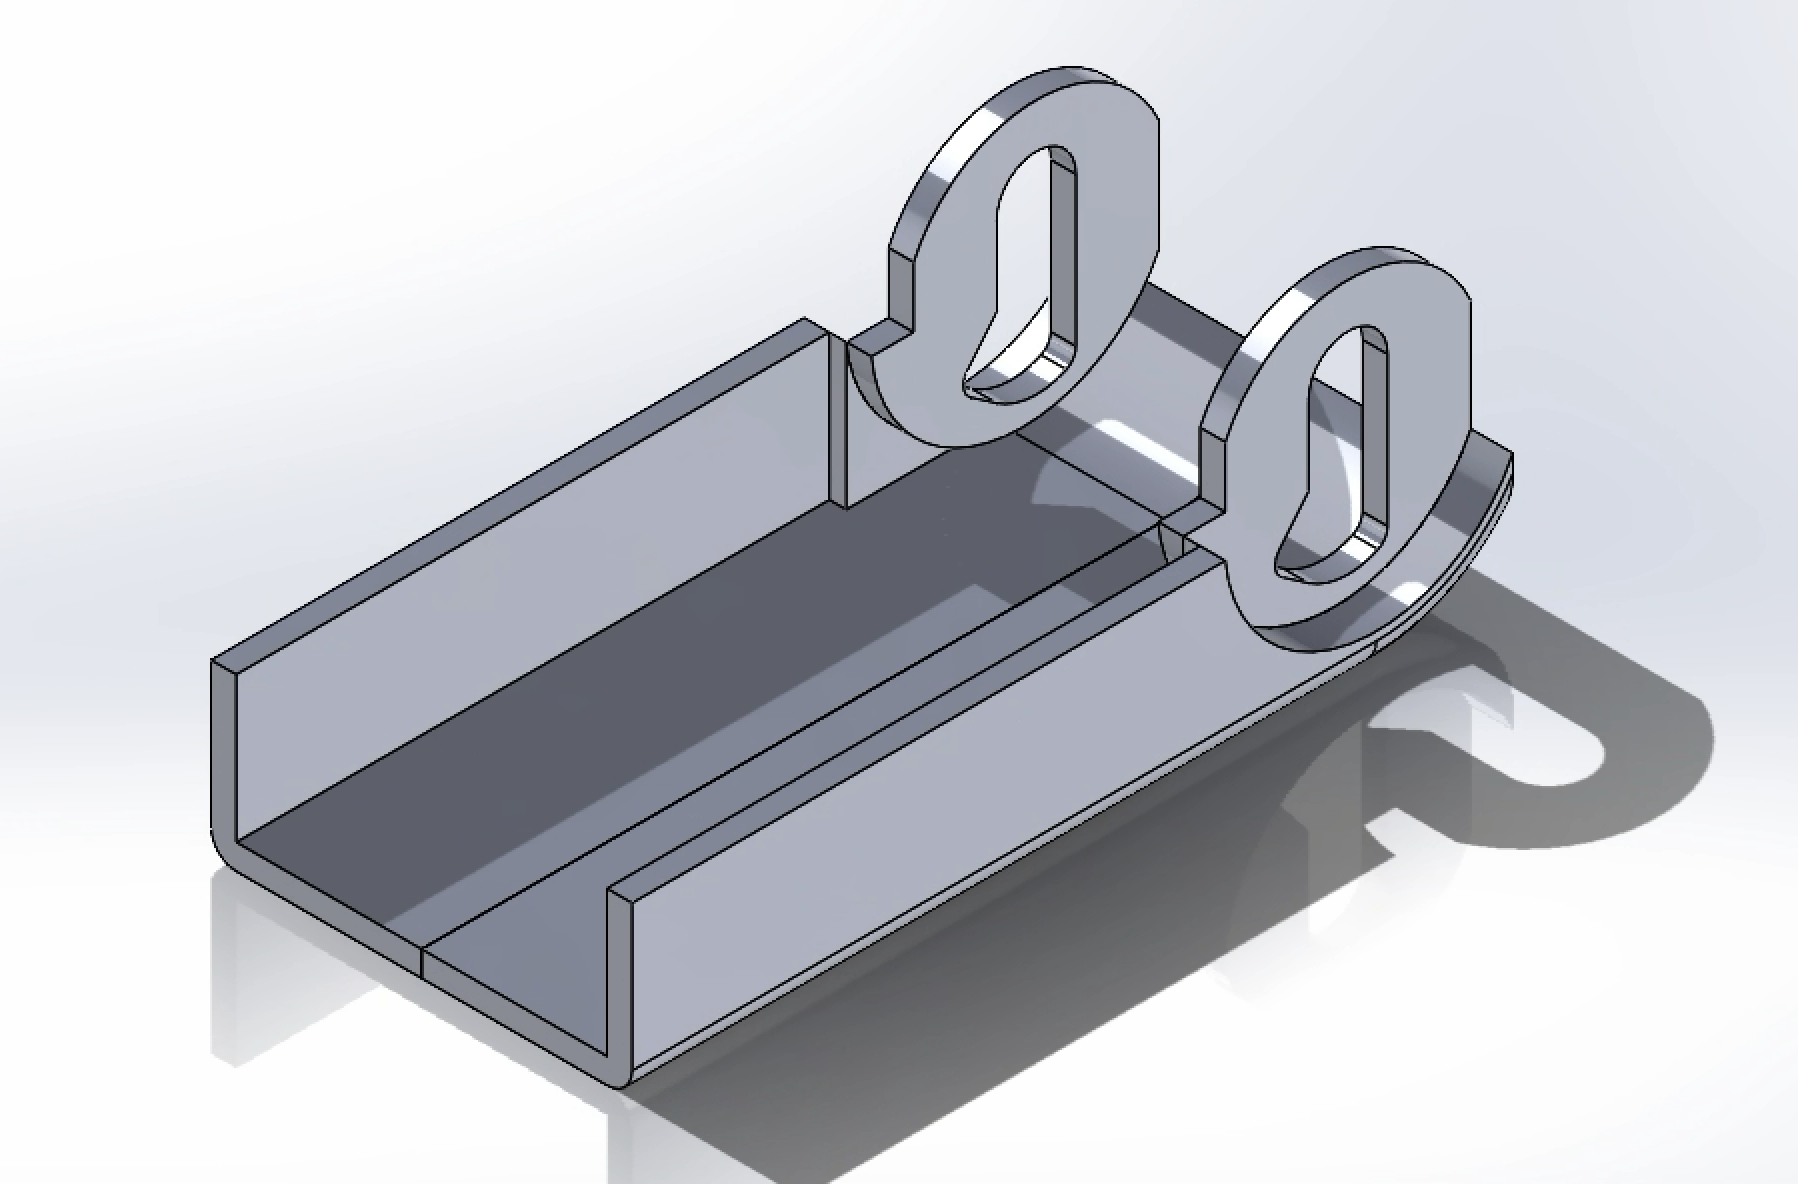
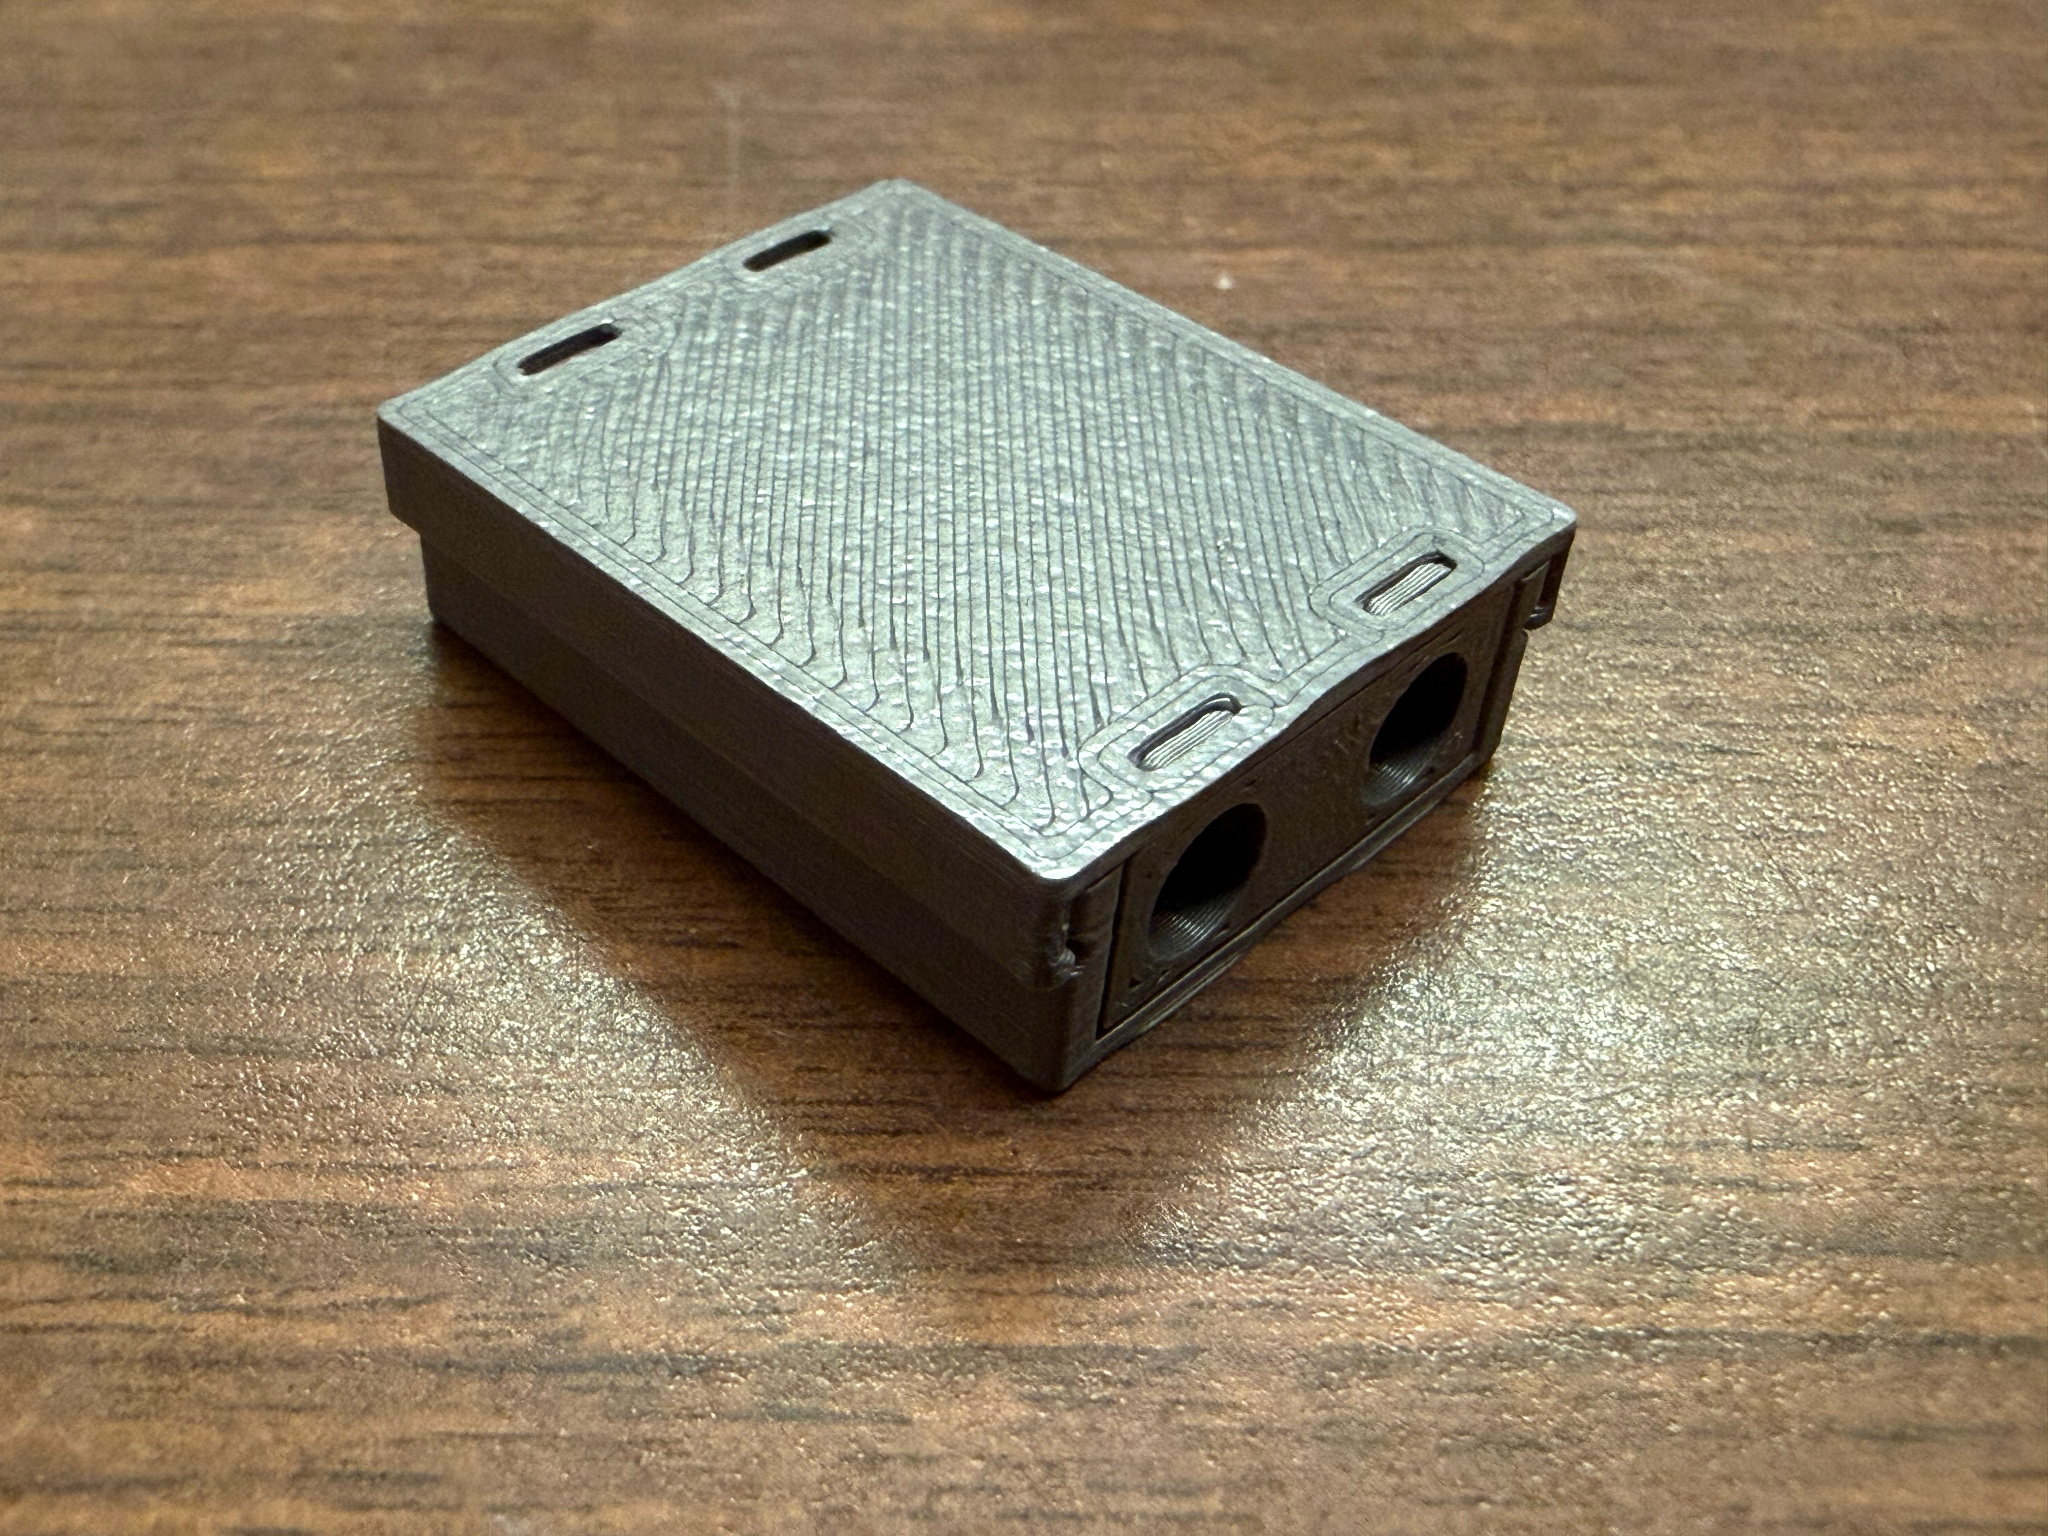
The original design for the laser diode enclosure was a box with a prism seat inside to refract the light into the finger. The lid and walls were removable using a dovetail joint.
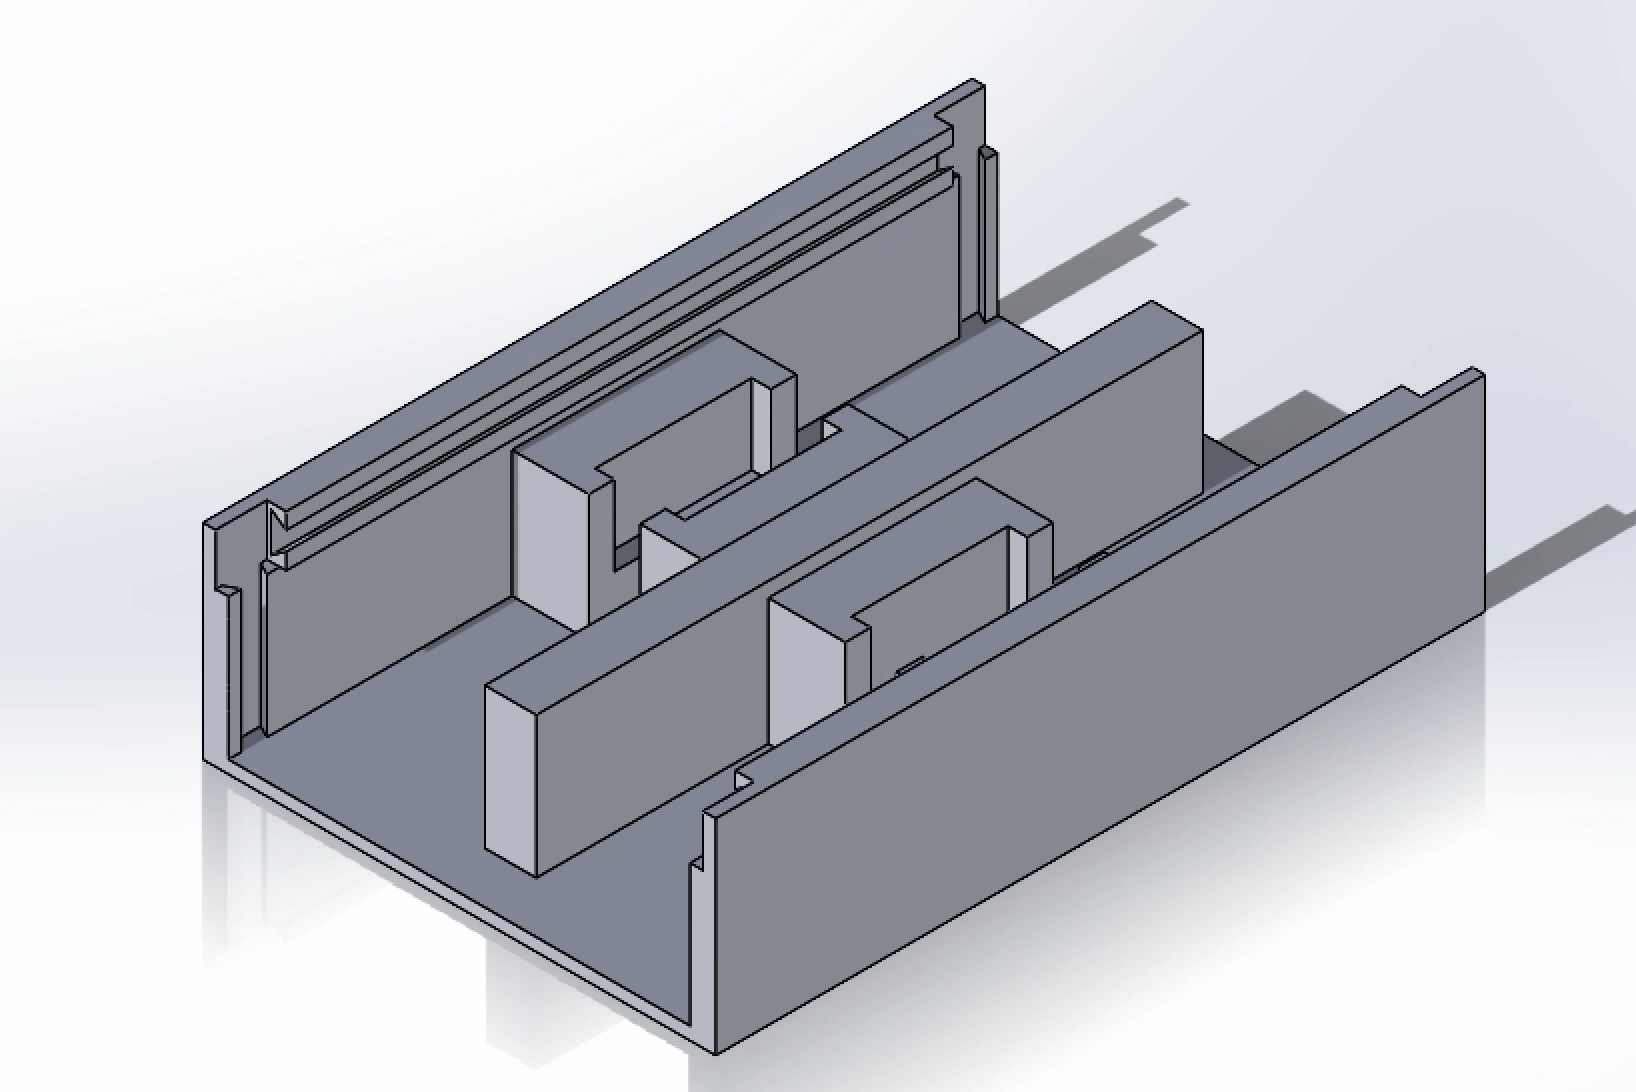
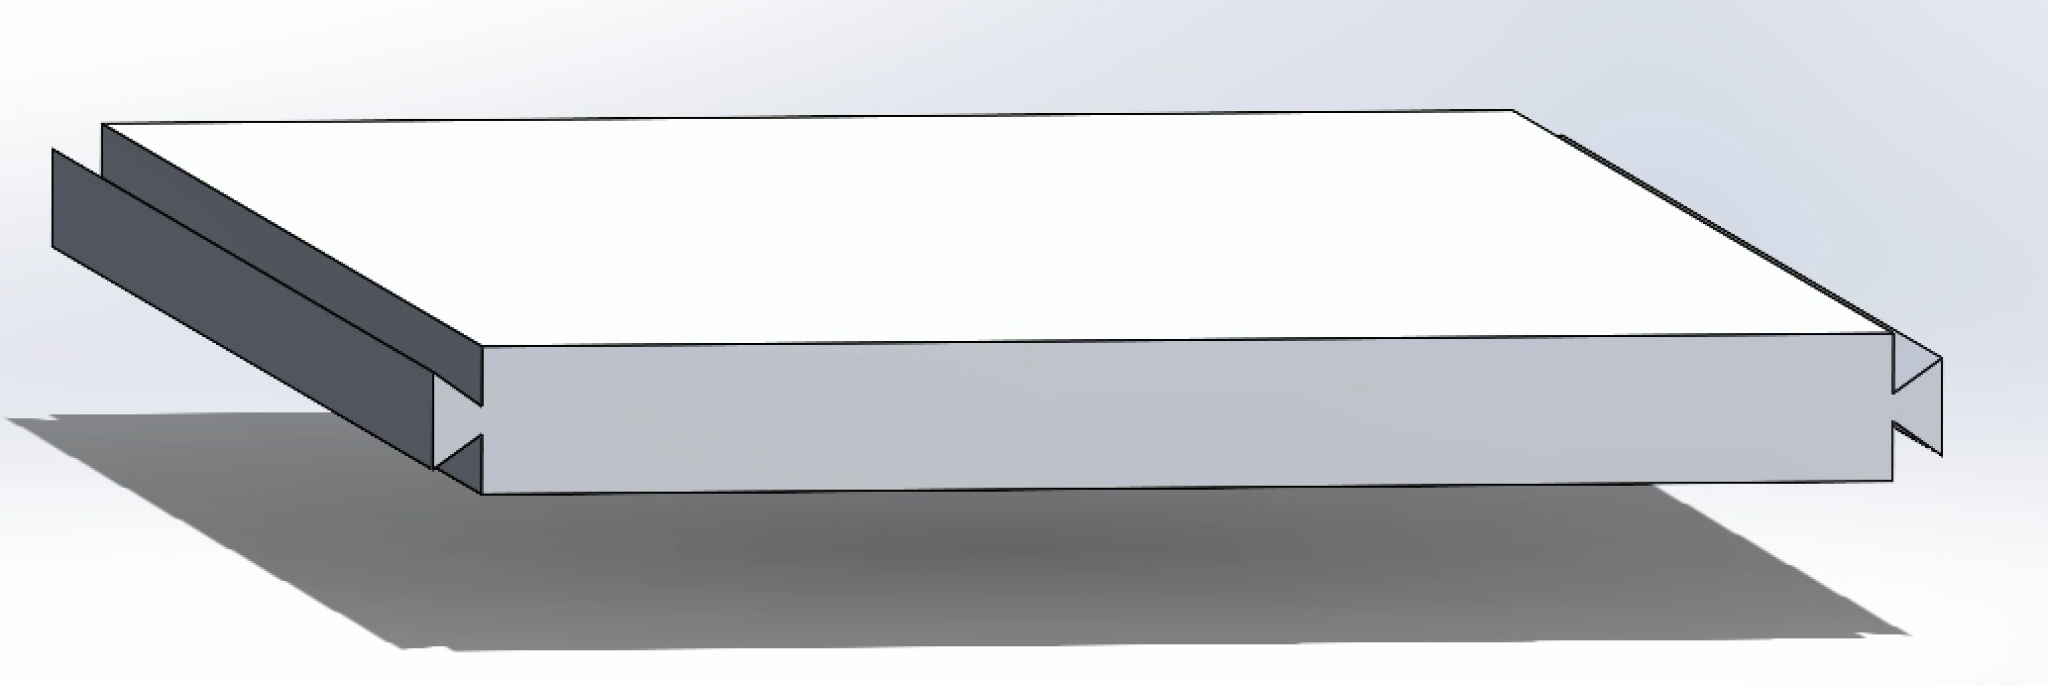
However, the designs with the dovetail joints were difficult to print. At this scale, they were too small for the 3D printer nozzle to print accurately.
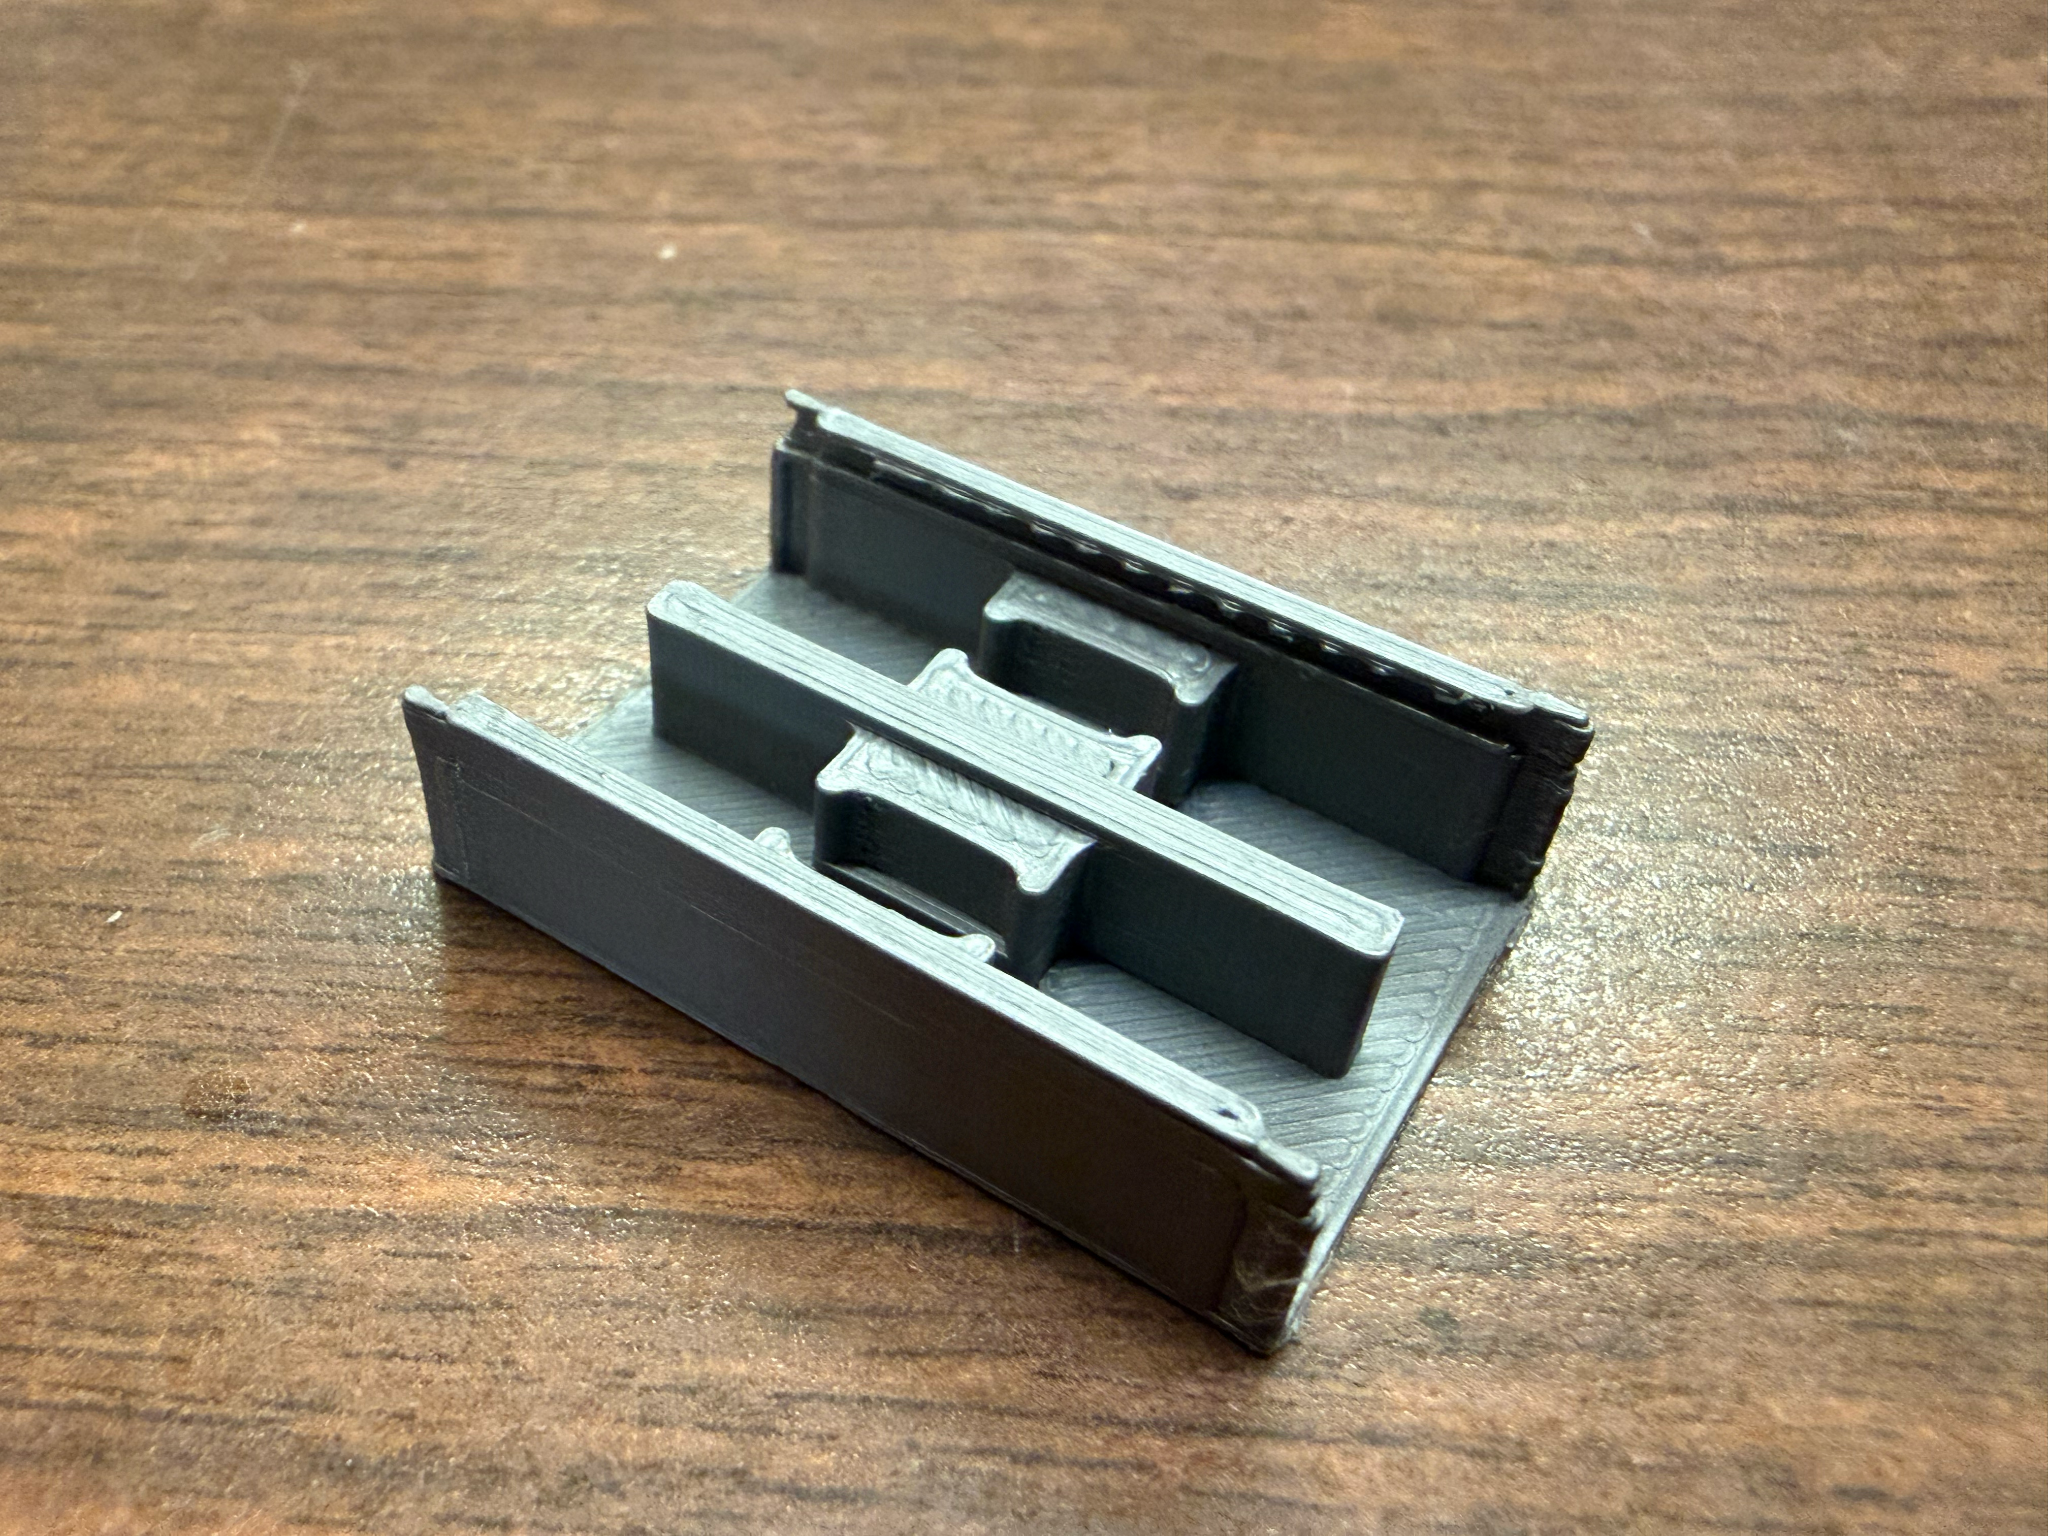
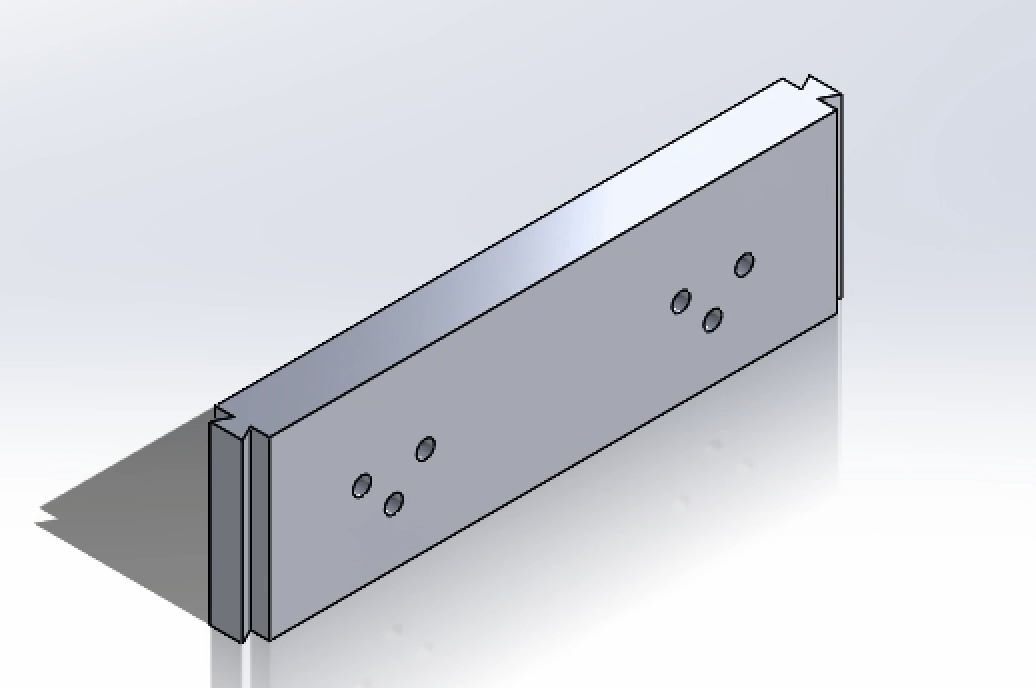
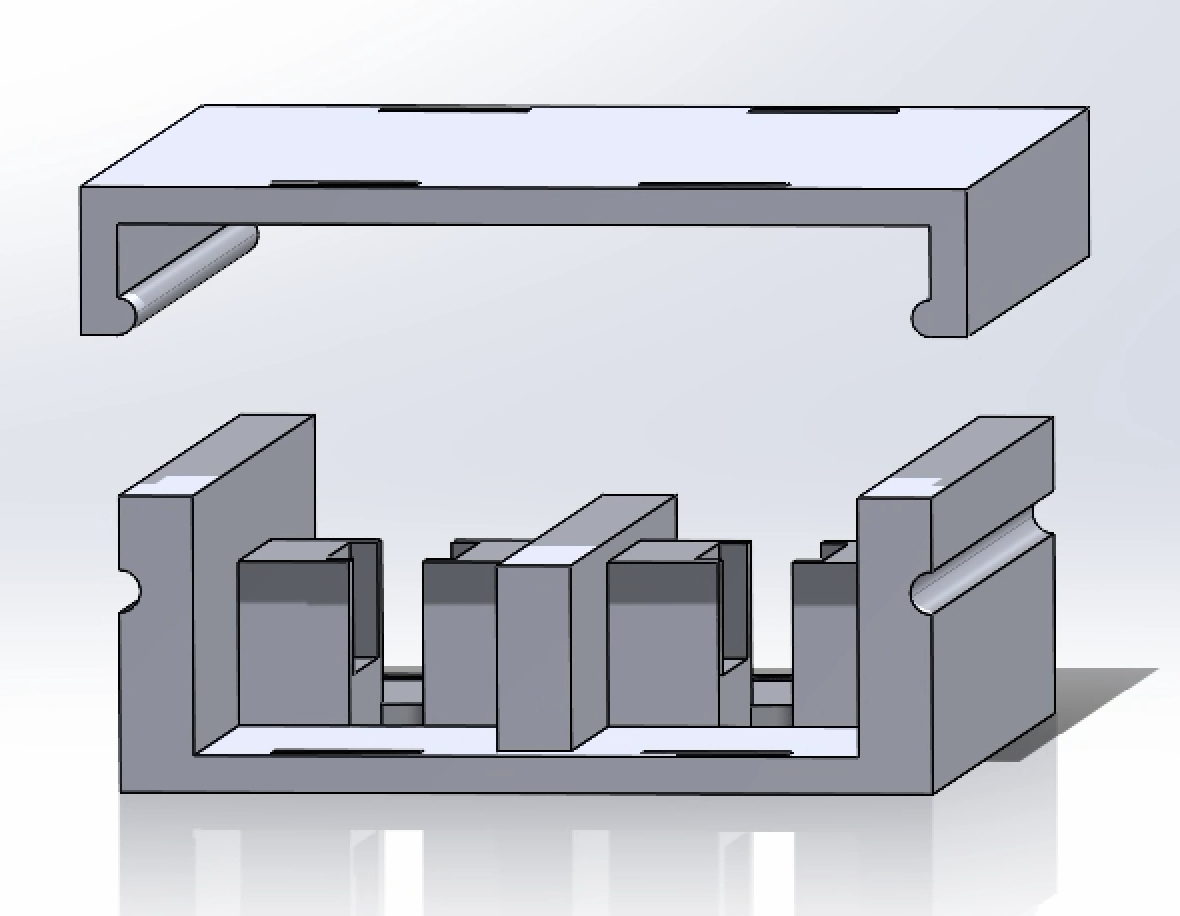
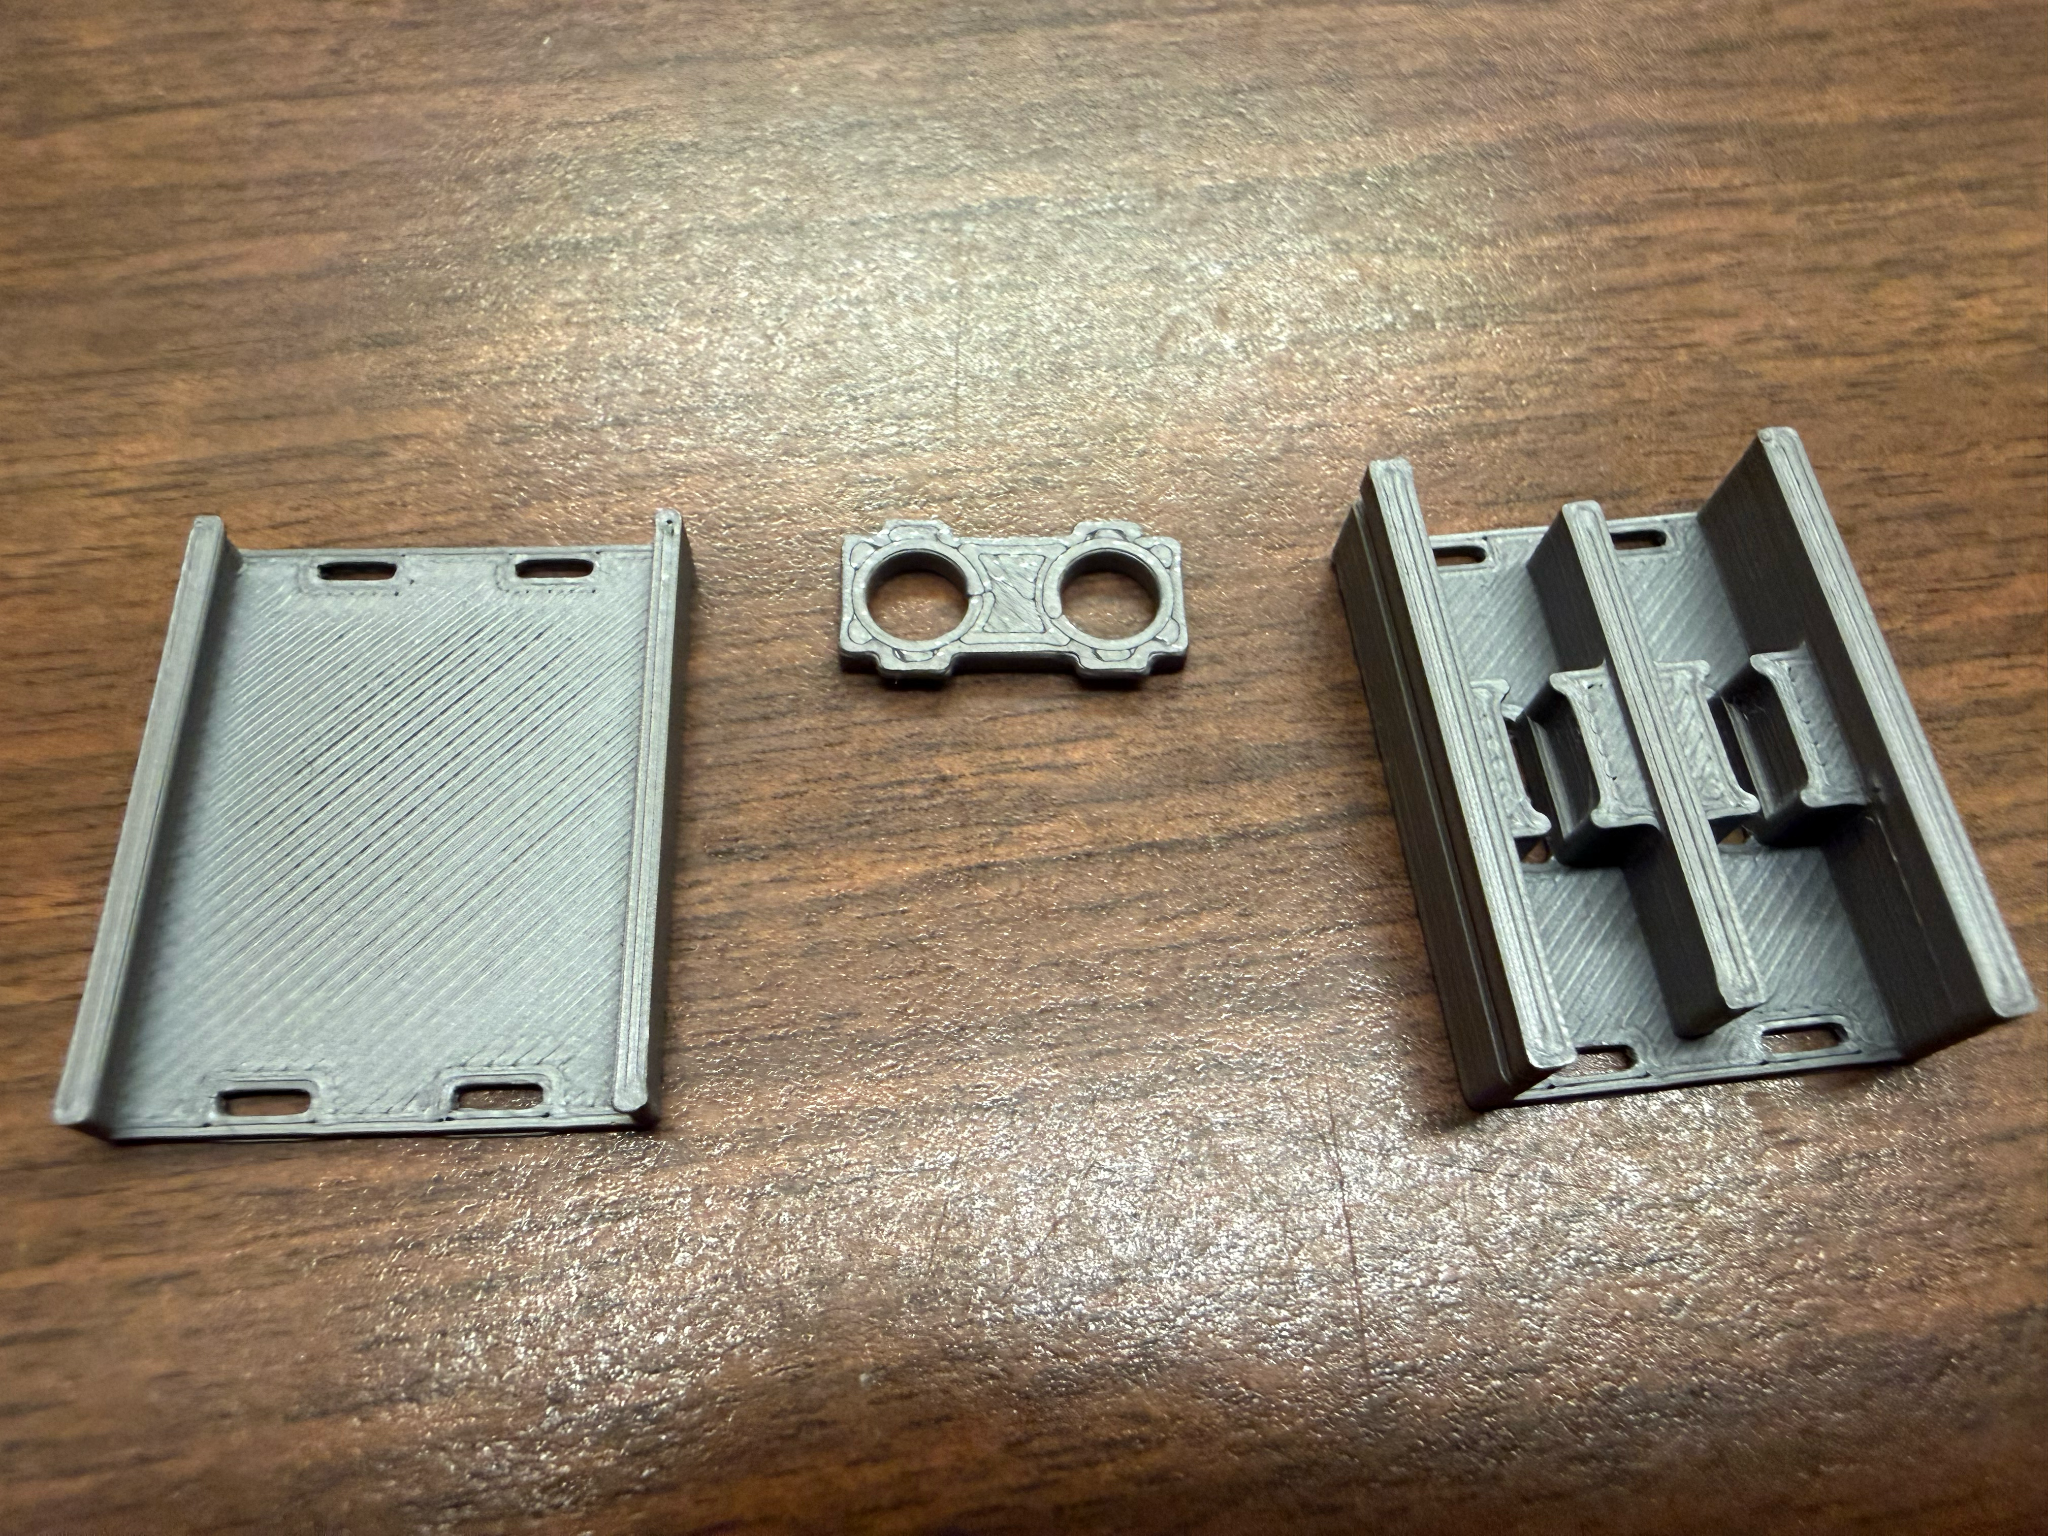
I then redesigned this enclosure with a snap fit element joint for the lid. The walls had tabs that fit into slots in the base and the lid. This allowed the models to print well as well as be stable when assembled.
-
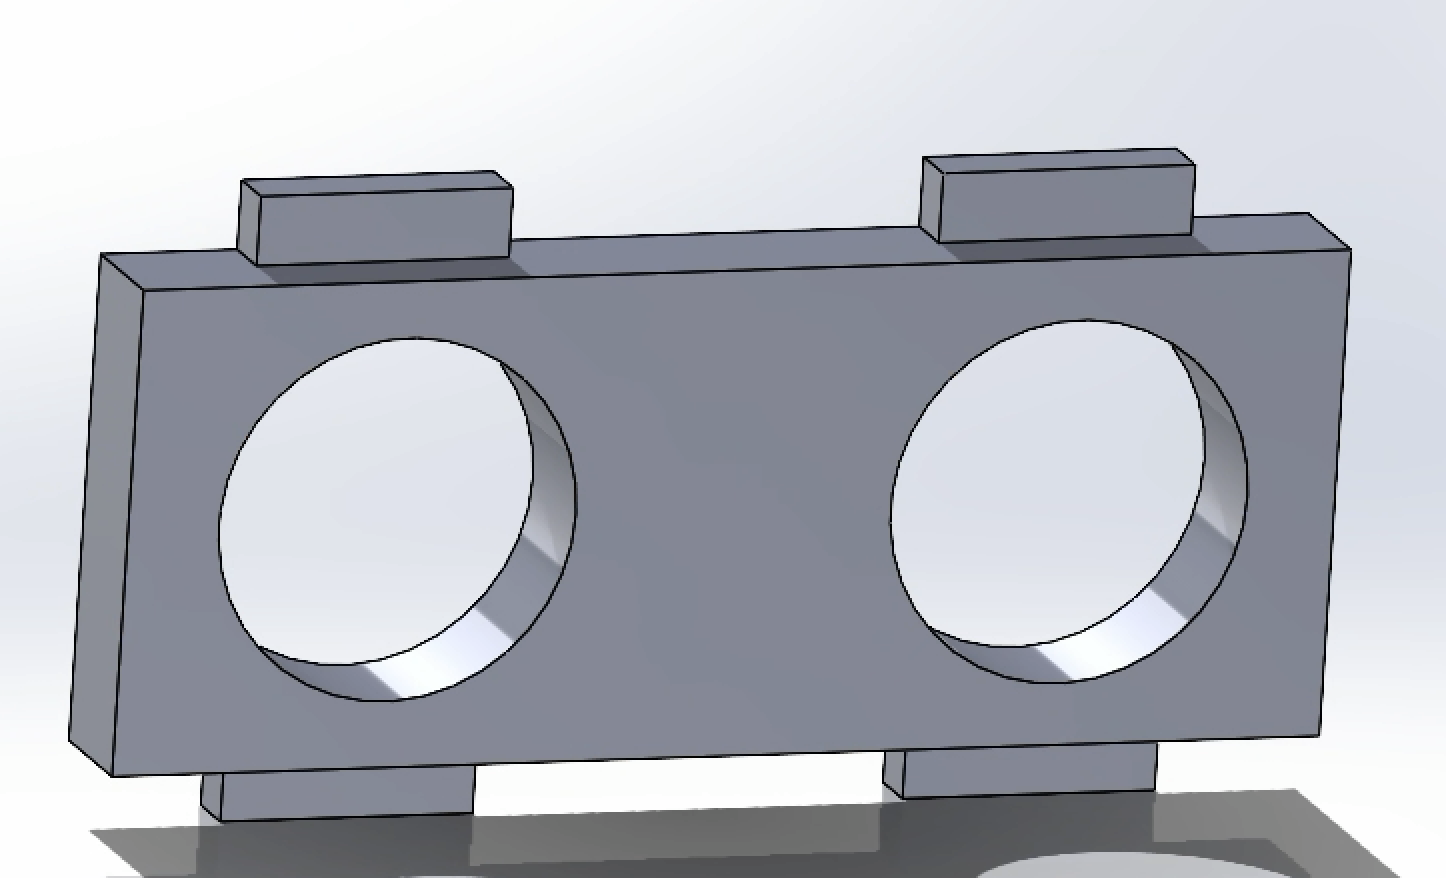
Redesigning the Light Refraction Method
The use of prisms to refract the light from the laser diodes into the finger has several limitations.
- The prisms are large enough that limits how compact the design can be. The right angle prisms used in this project were 3mm per side. However, the two prisms per location would take up 6mm of space.
- Depending on the material, the prism can be easy to scratch and damage when assembling the device.
- The prisms are relatively expensive to purchase.
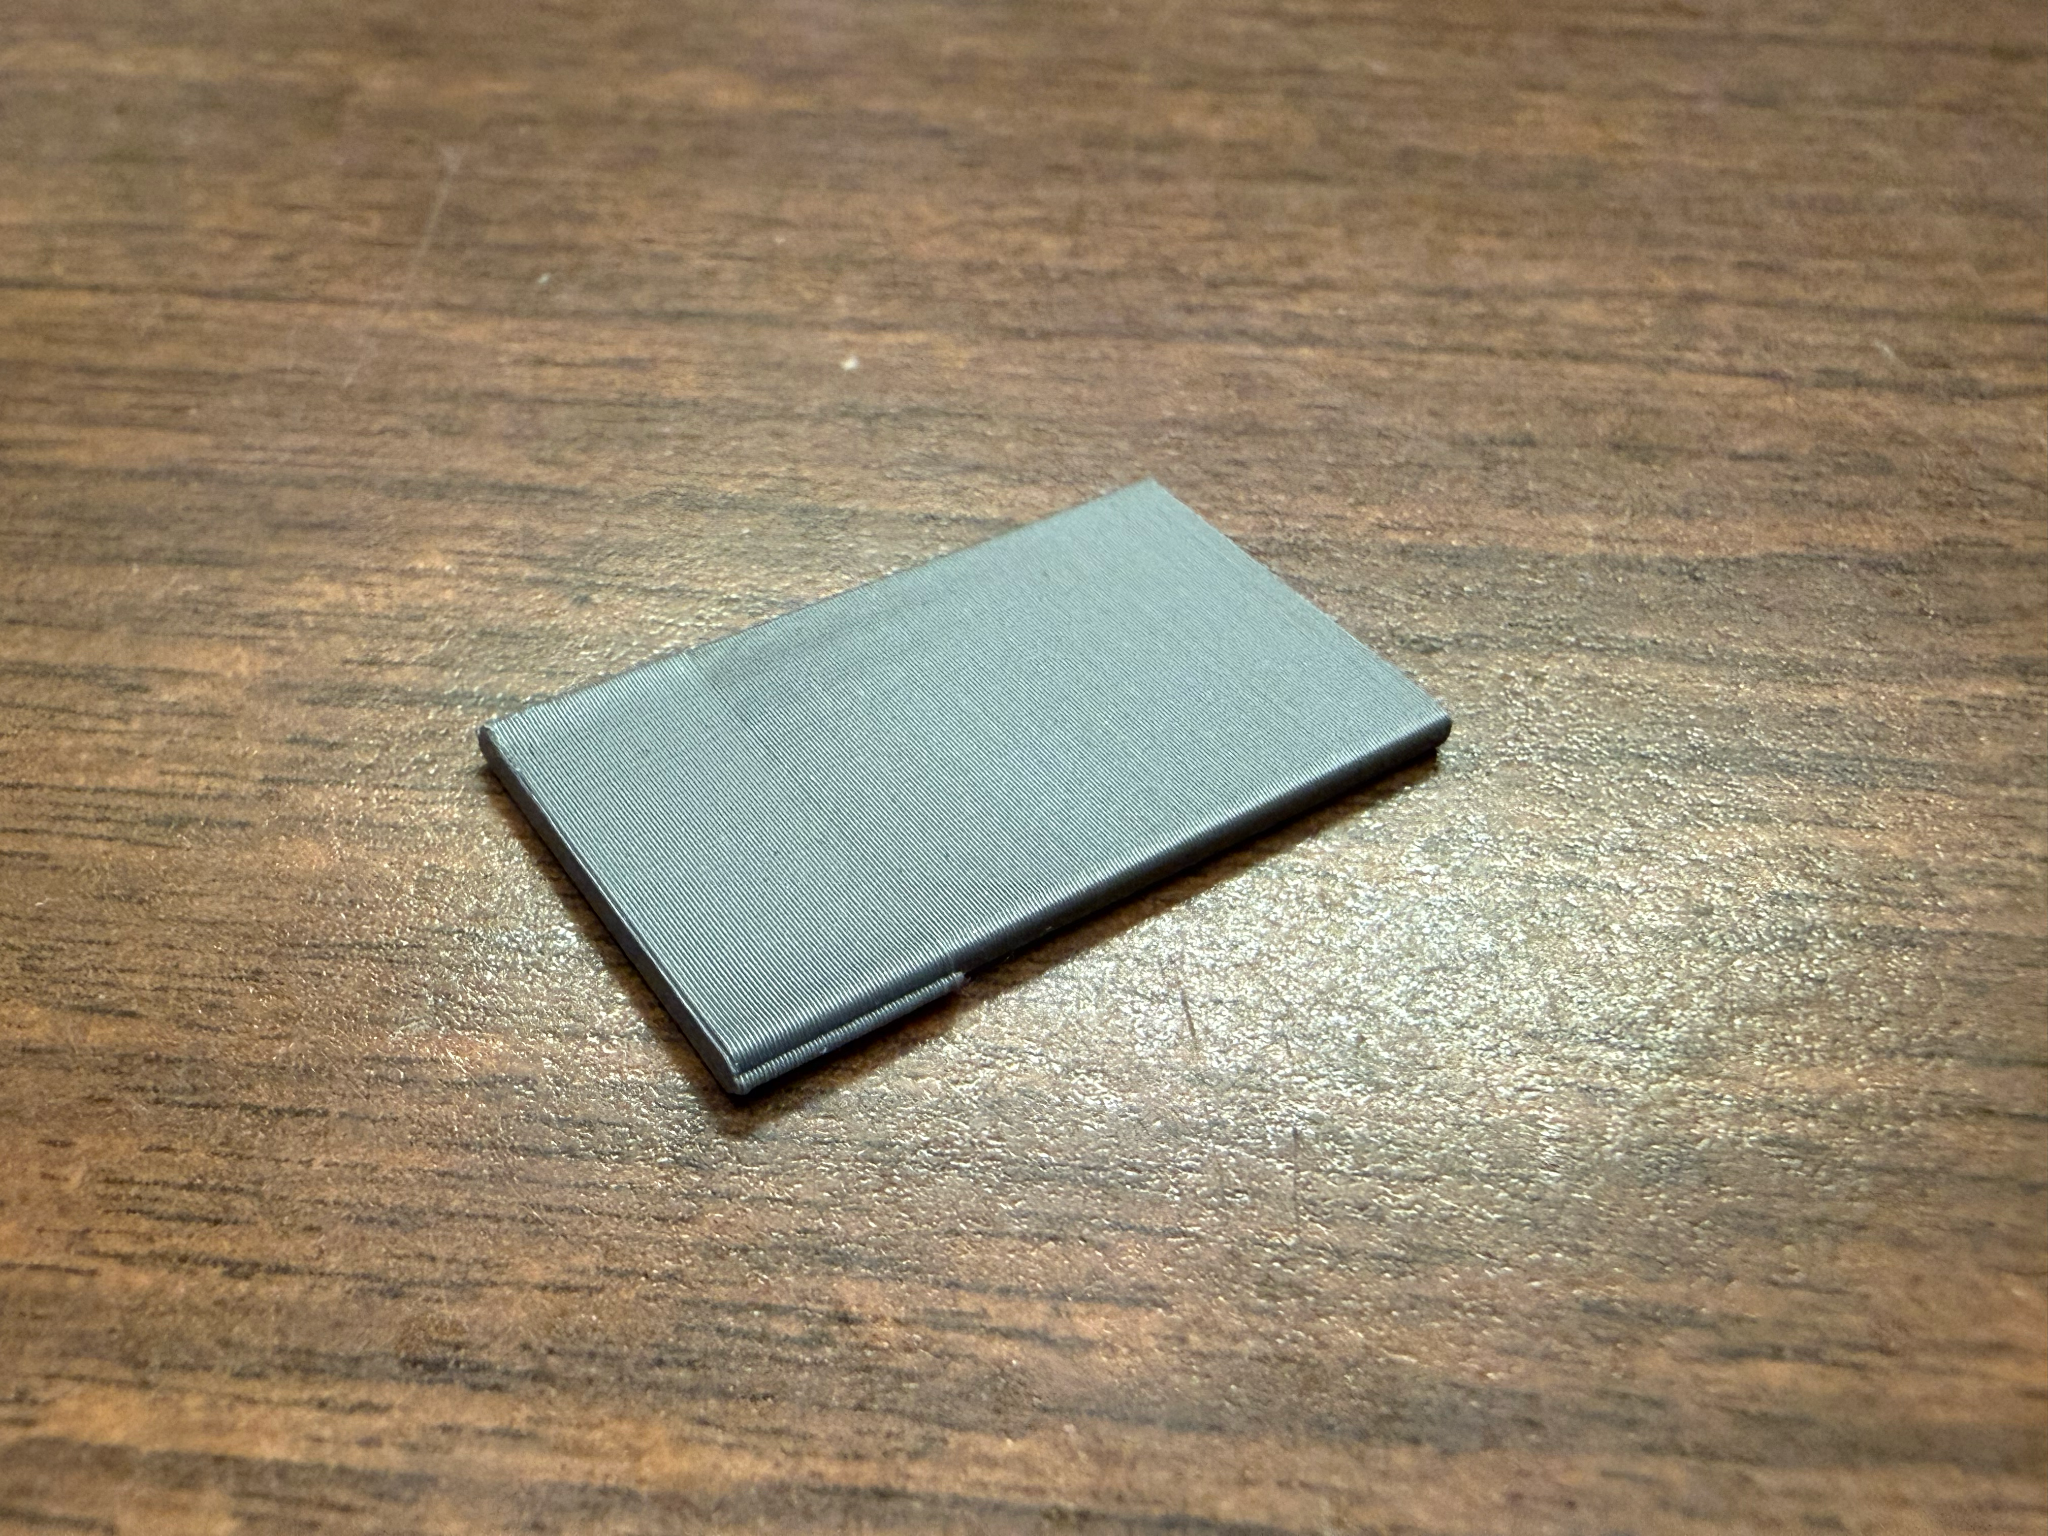
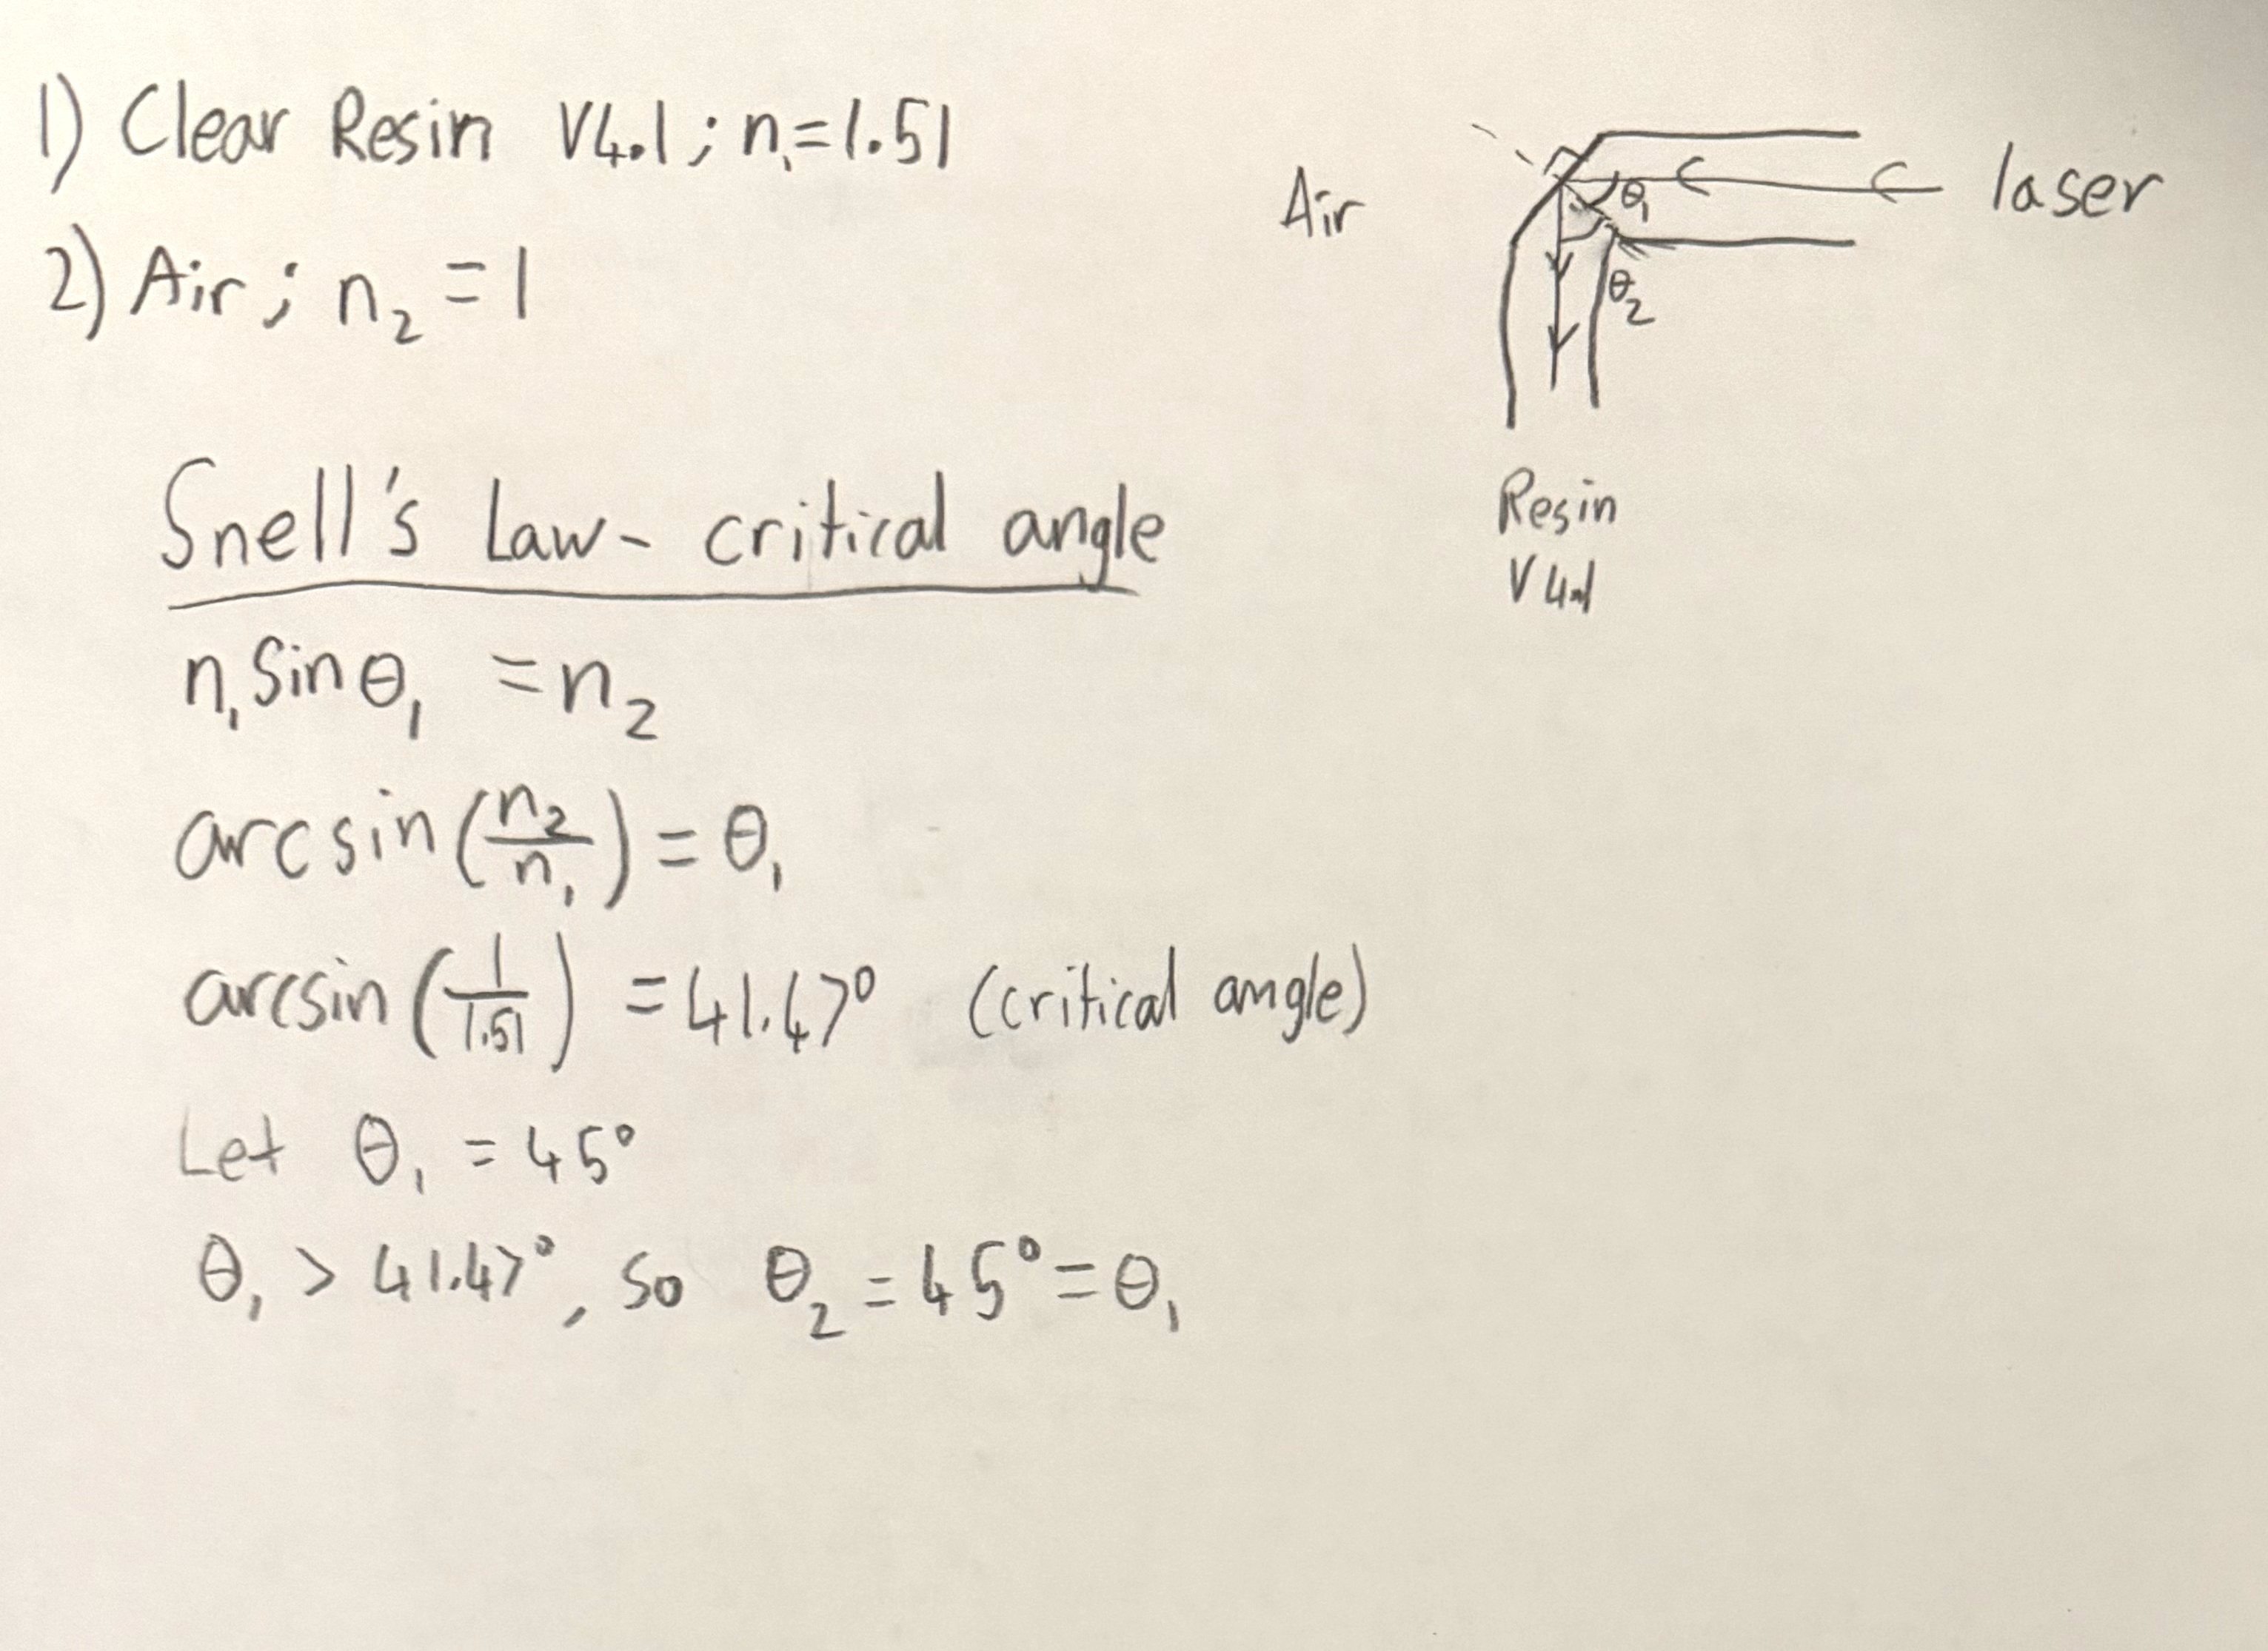
To address these issues, I utilized transparent resin printing (SLA Printing) to design and manufacture light channels. First, I had to ensure that the material had the correct optical properties. I used the Formlabs Clear Resin V4.1 and utilized Snell's Law to determine the angle geometry of the light channel.
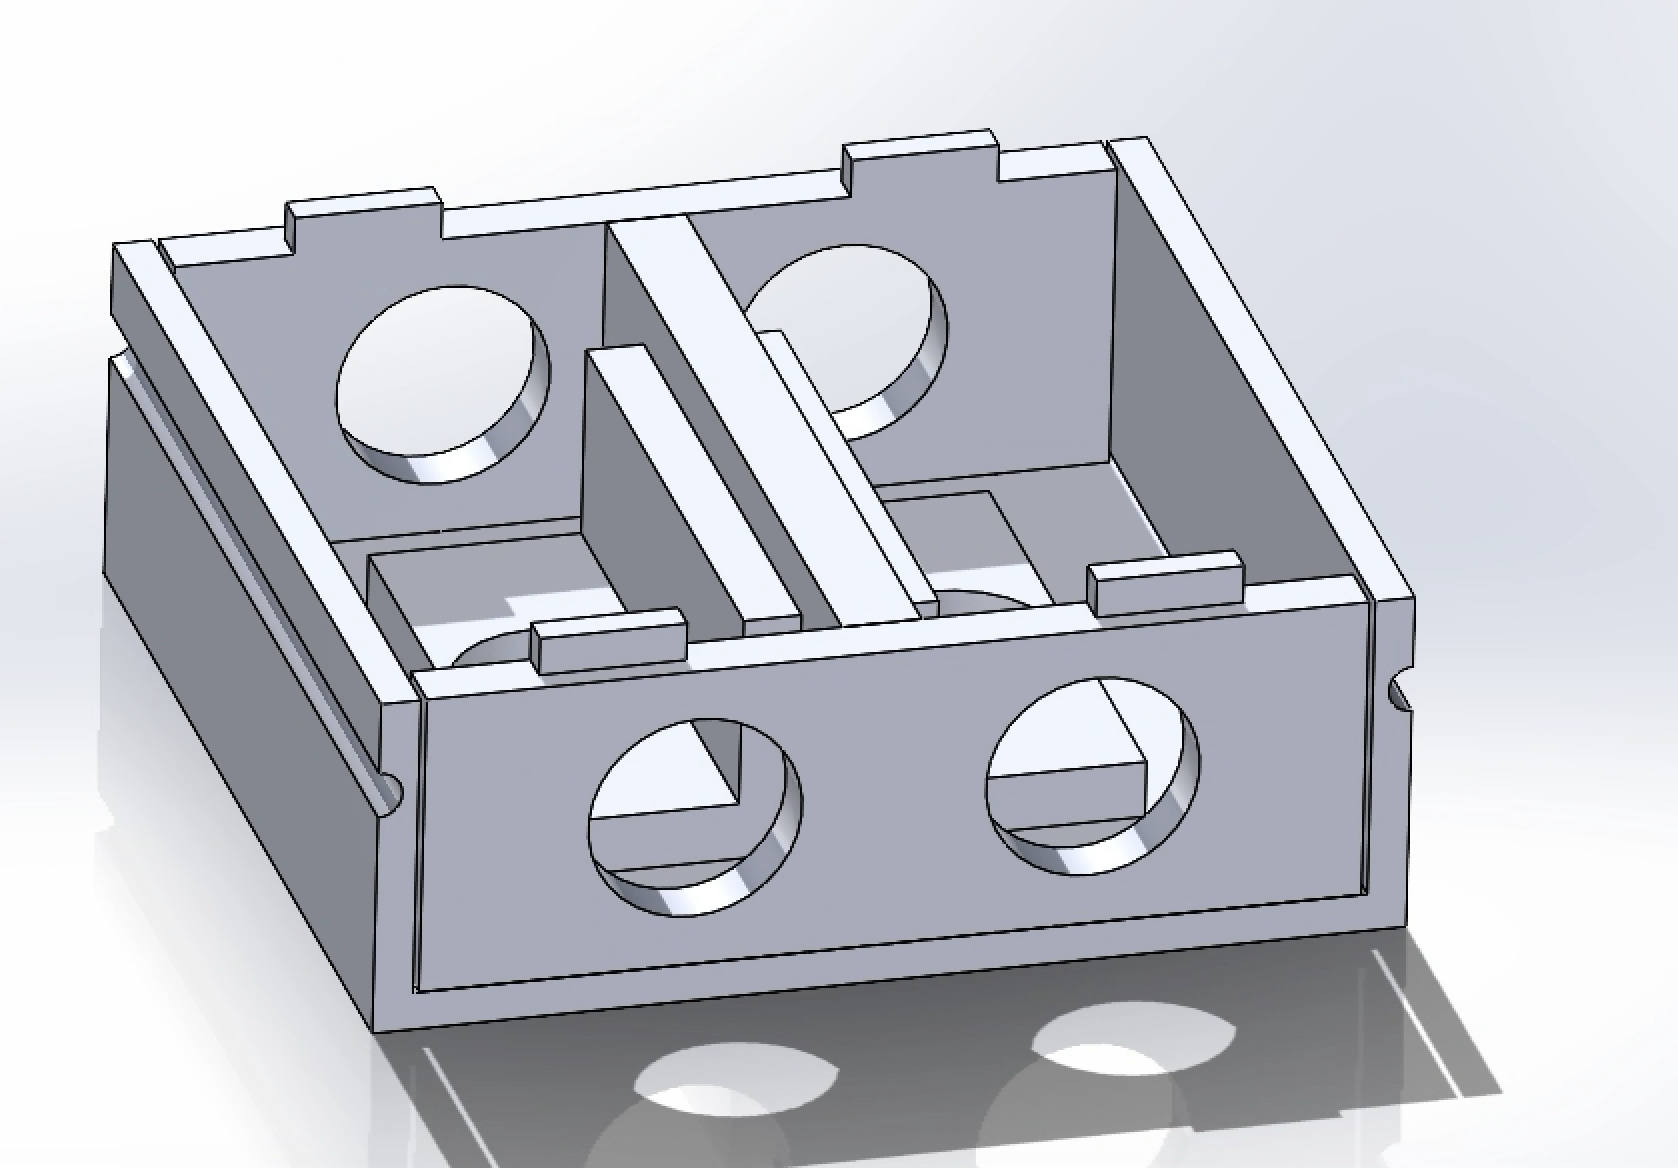
After verifying the angle geometry, I designed a light channel. The light channel had an opening for the laser diode to sit in. Because the laser diodes sit within the light channel, this design is much more compact than the prism design. The light would then refract at the air-resin interface and be directed into the finger. The general design of the new enclosure was similar to the prism enclosure, but now included a different seat and wall to accommodate the light channel and prevent its rotation.

Key Engineering Challenges
- Designing a compact enclosure while accommodating multiple laser diodes
- Balancing printability and manufacturability for small-scale snap-fit and joint features
- Reducing optical component count while maintaining light refraction accuracy
- Designing for part compatibility and ease of assembly during prototyping
Final Outcome
The final design replaced separate prism components with integrated SLA-printed light channels. This simplified assembly, reduced the number of delicate optical parts, and created a more compact design that better supported the overall goal of improving pulse oximeter measurement consistency. This version of the pulse oximeter is still in the iteration phase, and I am currently working on the part compatibility and ease of assembly of the light channel and enclosure.
Through this project, I gained experience in CAD-driven product development, optical design constraints, additive manufacturing, and design iteration for a biomedical device application. The project strengthened my ability to connect engineering analysis with practical manufacturing decisions.
Skills Demonstrated
- Mechanical CAD design and assembly modeling
- Design for additive manufacturing
- Optical path design using Snell's Law
- Prototype iteration and manufacturability improvement
- Biomedical device design considerations